14 Clever Craft Room Organization Ideas for a Clutter-Free Space
A messy craft room can steal your spark before you pick up a single tool. These craft room organization ideas turn tangled supplies and crowded tables into a calm, clutter-free space where creating feels easy again.
This article shares 14 beginner-friendly solutions, from pegboard walls and rolling carts to ribbon racks, jar storage, and labeled bins. Each idea solves a real problem: lost supplies, tiny floor space, or a table that disappears under piles. I’ve noticed that most crafters don’t need more storage. They need a system that makes everything visible. In my experience, one or two upgrades can save you twenty minutes of searching every session. Scroll through, save your favorites, and start with the idea that fits your space.
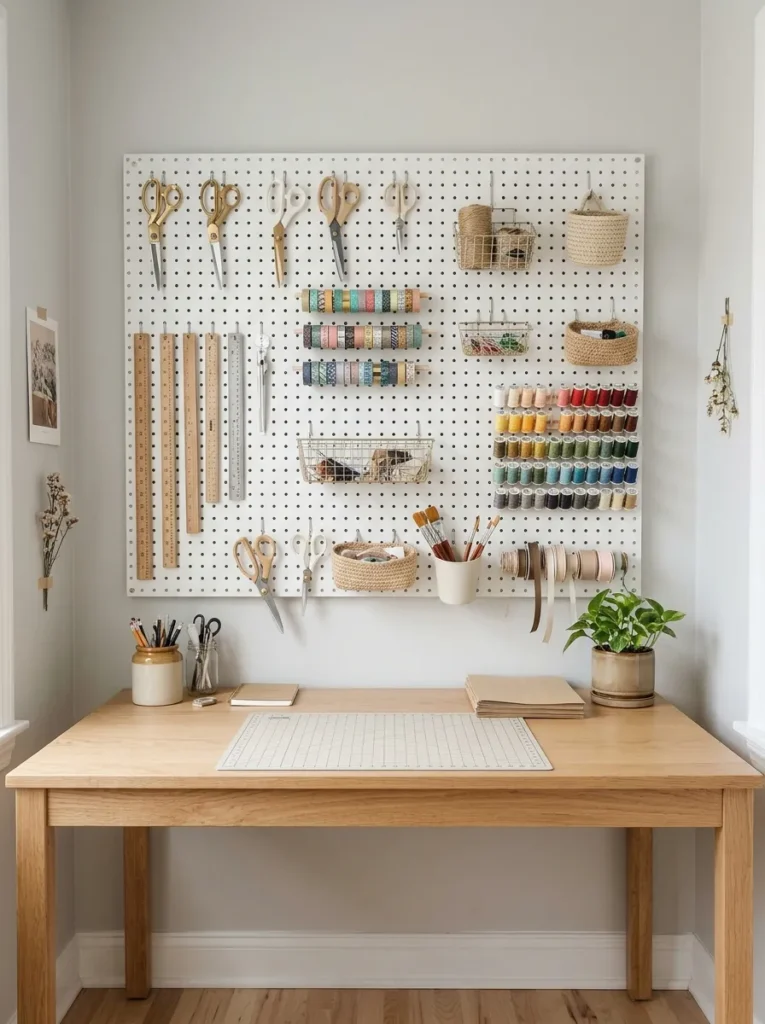
Pegboard Tool Wall
- Puts every tool in sight and within reach
- Uses wall space instead of table space
- Easy to rearrange as projects change
- Keeps scissors, rulers, and tape from vanishing
Walls are the most underused storage in any craft room. A pegboard turns one into a flexible tool station where scissors, rulers, tape, and small baskets all have a visible home. I’ve tried this above a desk, and the table cleared in a single afternoon. Hooks, shelves, and bins move wherever you need them, so the setup grows with your hobbies. Paint the board white or soft sage for a calm look. When every tool hangs in sight, you stop buying duplicates, and you start projects faster because nothing hides in a drawer.
Plan the layout before you hang a single hook. Lay tools on the floor, group them by use, and take a photo to copy on the wall. Keep daily items at hand height and rarely used tools higher. Trace each tool’s outline with a marker so it returns to the same spot, which keeps the board tidy. Mount the board to studs, because loaded hooks add real weight. Choose matching baskets in one or two colors to avoid a busy look. The finished wall looks organized, creative, and gallery-like, and it makes every session feel calmer.
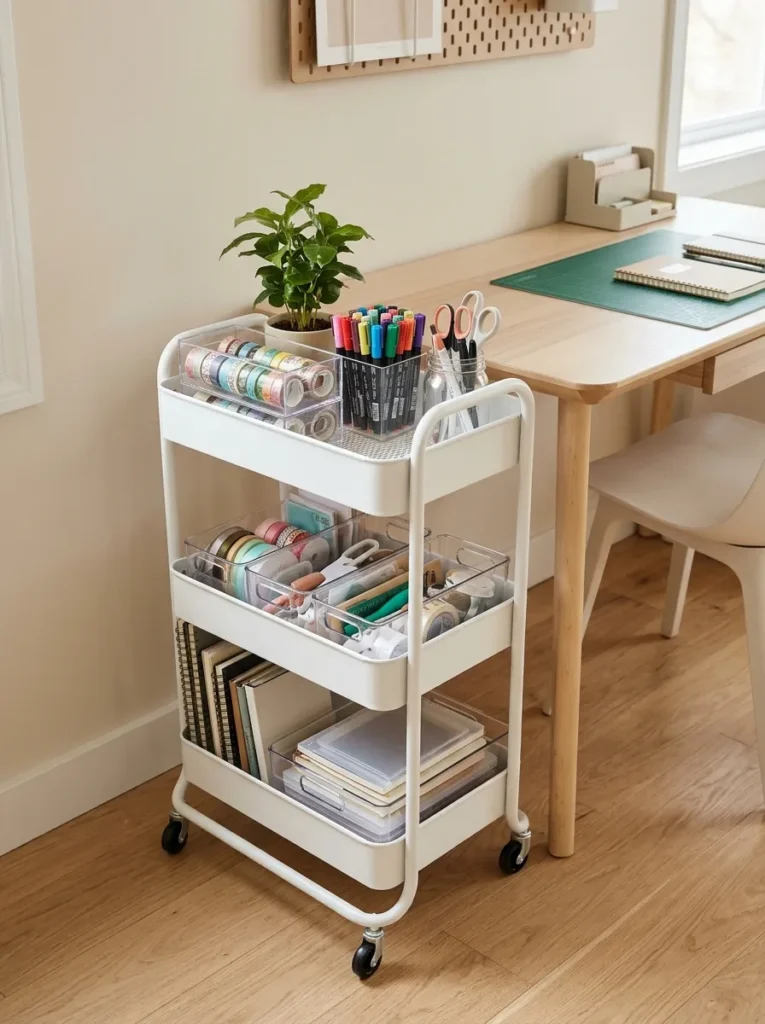
Rolling Cart Station
- Moves supplies to wherever you are working
- Three tiers sort tools by project type
- Fits into narrow gaps beside a desk
- Rolls away when the project ends
A cart follows you, and that changes everything. Roll it beside your desk for a project, then tuck it into a corner when you finish. Each tier handles a job: everyday tools on top, paper and fabric in the middle, and bulky items below. I’ve noticed that crafters who use a cart waste far less time walking back and forth. Pick a slim model in white or beige so it blends in. Add clear containers so you can see supplies at a glance. The room feels flexible, tidy, and ready for whatever you want to make next.
Style the cart like a mini workstation. Keep a go-to kit on the top shelf with scissors, a pen, and a ruler. Use small bins on the lower tiers to separate paint, adhesives, and embellishments. Lock the wheels when you work, so nothing drifts. Add hooks on the side for tote bags or scissors. Keep heavy items on the bottom for balance, and wipe the shelves weekly because glitter and dust love open surfaces. The finished cart looks light, useful, and neat, and it turns any corner into a quick, comfortable work zone.
Also view: 15 Book Page Crafts Ideas Using Only Basic Craft Supplies
Ribbon Spool Rack
- Ends tangled ribbon piles for good
- Shows every color at a glance
- Costs only a few dollars to build
- Pulls ribbon smoothly without knots
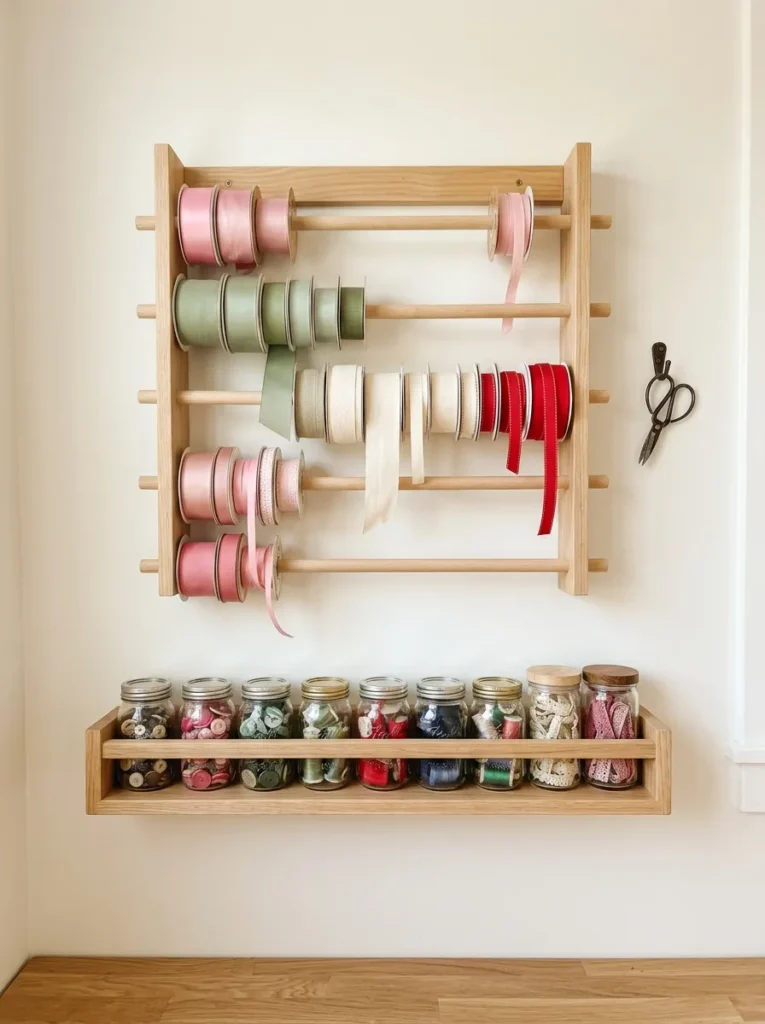
Tangled ribbon is a craft room classic. A simple wall rack changes that. Mount a row of wooden dowels or a curtain rod on the wall, slide on spools, and each color hangs ready to use. I’ve seen this idea save so much time, because you can spot the exact shade in seconds. Group ribbons by color for a pretty gradient, which doubles as wall decor. Add a small hook beside it for scissors. The result feels cheerful, boutique-like, and satisfying, and ribbon stays smooth and wrinkle-free instead of crumpled in a drawer.
Choose a rack that fits your collection. Dowels about twelve centimeters long hold standard spools, while wider rods suit big satin rolls. Mount them with a slight upward tilt, so spools stay in place. Use a ruler to space the rods evenly, and anchor them to studs or use sturdy wall plugs. Wind loose ribbon ends around a cardboard tube before hanging. Place a small cutting spot beneath with a tray to catch scraps. Dust the rack monthly. The finished wall looks colorful, tidy, and inspiring, and it turns everyday supplies into a display.
Jar Storage Shelf
- Shows small supplies at a glance
- Glass jars keep dust and moisture out
- Doubles as colorful wall decor
- Easy to refill from bulk bags
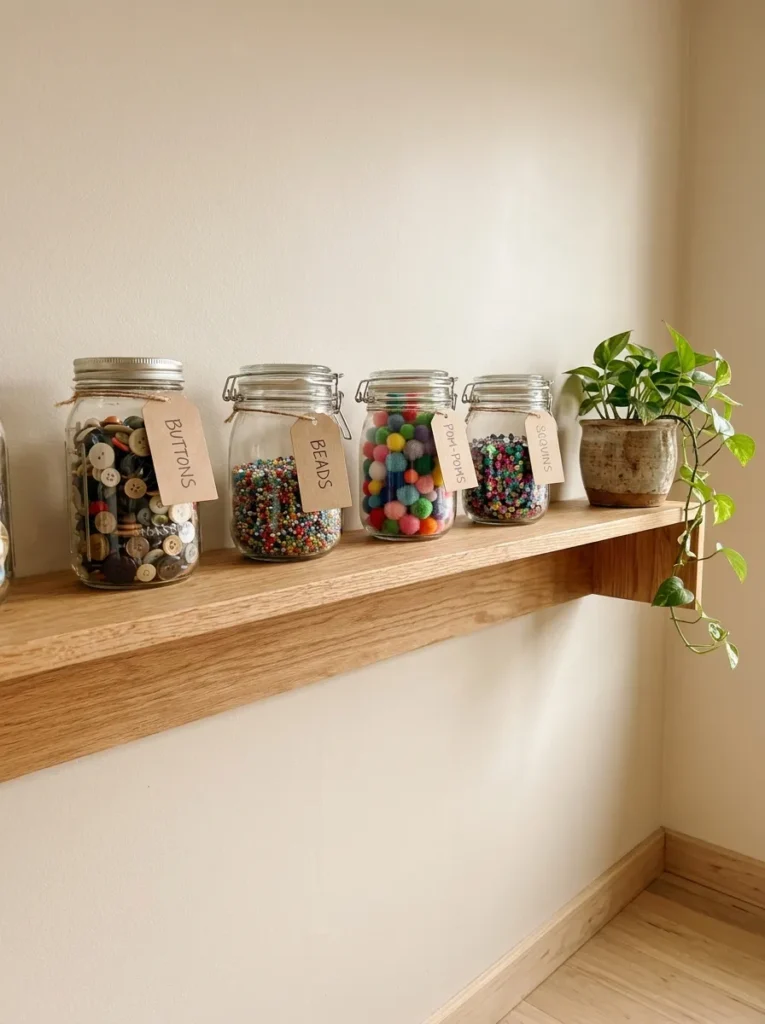
Tiny supplies belong in clear jars. Buttons, beads, pom-poms, and sequins stay neat, dust-free, and easy to find. I’ve tried storing beads in loose bags, and half of them escaped within a week. Jars fixed that. Line them on an open shelf by color or type, and the wall becomes a soft, pretty display. Use matching glass jars with metal lids for a clean look, or reuse jam jars you already own. The shelf feels organized, bright, and almost like a candy shop, and it makes picking supplies a pleasure instead of a hunt.
Labels keep the system working. Write the contents on a kraft tag or chalk label and tie it to each jar. Sort by color, material, or project, and stick to one method. Choose jars with wide mouths so hands and scoops fit easily. Place heavier jars on the lowest shelf, and use a sturdy shelf with proper brackets. Wash and dry each jar before filling to avoid mold. Keep the shelf out of direct sun, because bright light fades dyed beads over time. The finished display looks colorful, tidy, and thoughtful, and it keeps tiny items from taking over your desk.
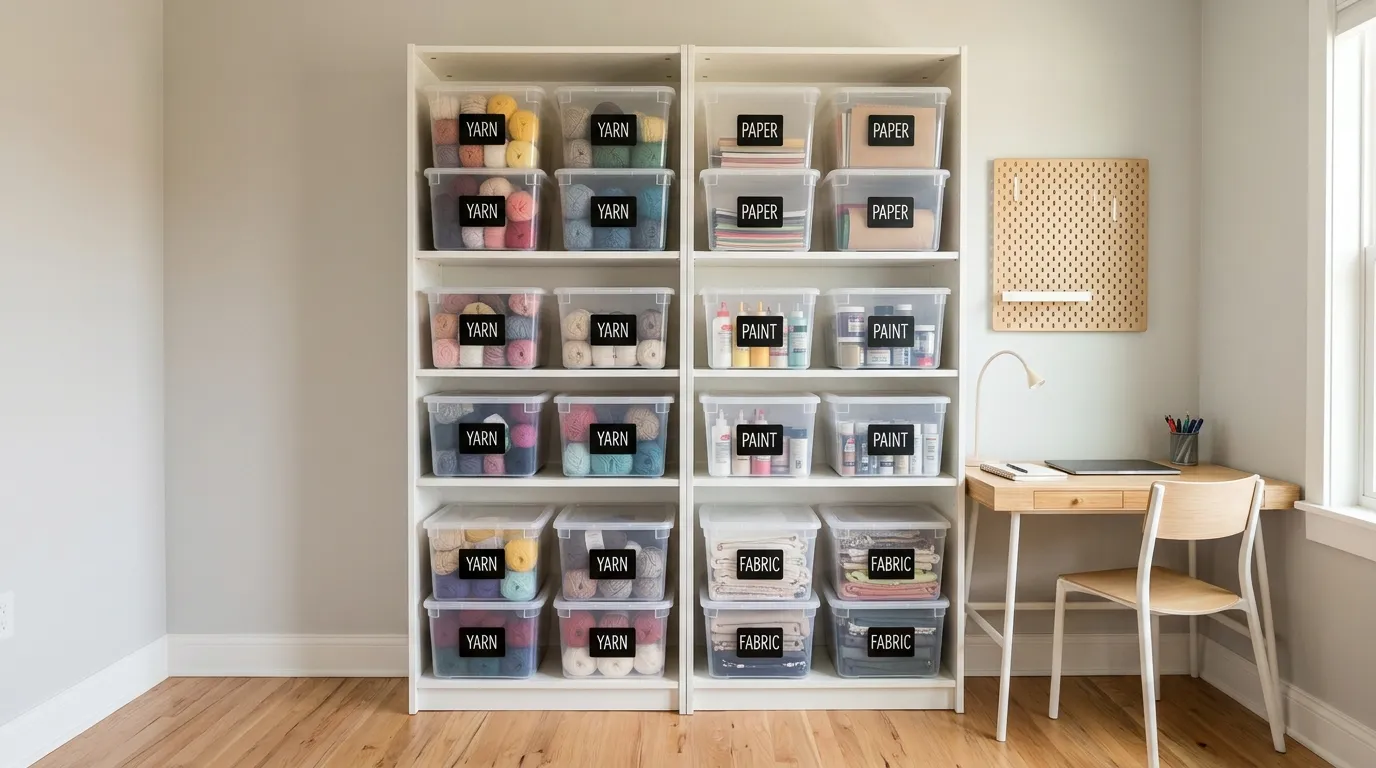
Clear Bin Wall

- Lets you see contents without opening anything
- Stacks neatly to use wall height
- Keeps dust off paper and fabric
- Labels make every bin easy to find
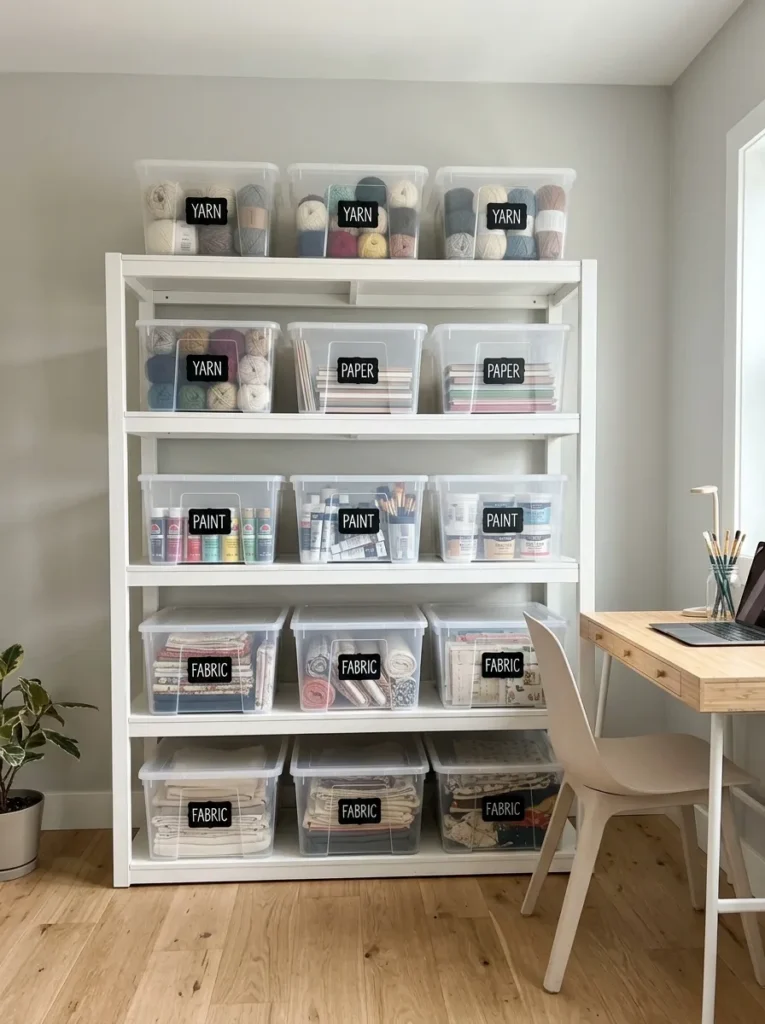
If you can see it, you will use it. Clear bins on a shelving unit let you spot supplies from across the room. Sort by material, such as paper, yarn, fabric, and paint, and label each bin on the front. I’ve noticed that crafters stop buying duplicates once they can see what they own. Pick bins of the same size, so they stack neatly and fill the shelves evenly. White shelves keep the look clean. The result feels calm, organized, and efficient, and you will spend less time digging and more time making.
Start with a purge, then sort. Pull everything out, toss dried-up markers, and group like items together. Choose bin sizes based on what you own, not what you wish to own. Place the most-used bins at eye level and rarely used ones on high or low shelves. Use a label maker or simple stickers with large, clear text. Leave one empty bin for new supplies, so the system stays flexible. Dust the shelves once a month. The finished wall looks neat, spacious, and functional, and it makes cleanup after a project almost effortless.
Fold-Down Craft Table
- Creates a work surface that folds flat
- Frees the floor when you finish
- Works in closets, hallways, and spare corners
- Great for small homes and shared rooms
Not everyone has a spare room, and that is fine. A fold-down table gives you a full work surface that folds flat when you are done. Mount it on a wall, add a small shelf above, and a closet or hallway becomes a studio. I’ve seen this idea save craft hobbies in tiny apartments. Choose a depth of about sixty centimeters for a cutting mat and a project. A simple stool tucks underneath. The setup feels flexible, clever, and tidy, and it gives you a home for creativity without taking over the room.
Strong mounting is the key. Use wall studs or heavy-duty anchors, and choose brackets rated for far more weight than you expect. Add a locking support leg if the table is wide. Keep a rolling cart or bin nearby, so supplies move in and out quickly. Cover the surface with a self-healing mat to protect it. Fold the table flat only after clearing it, so nothing slides off. Add a clip-on lamp for evening sessions. The finished corner looks neat, modern, and smart, and it lets you make a mess and clear it in minutes.
Paper Sorting Tower
- Keeps paper flat, clean, and uncreased
- Sorts colors in clear, easy-to-reach trays
- Turns a stack into a pretty rainbow
- Slim enough for a narrow wall
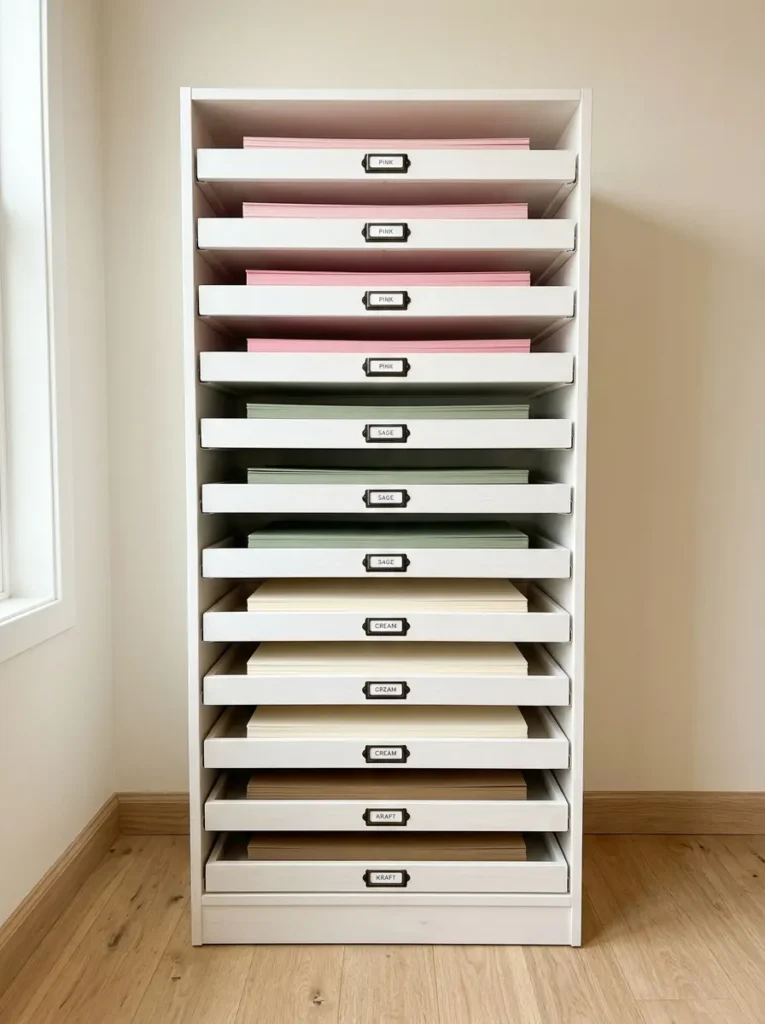
Paper hates being crushed. A tower of shallow trays keeps cardstock, scrapbook sheets, and patterned paper flat and easy to browse. Sort by color for a soft gradient, or by size for faster picking. I’ve tried storing paper in folders, and the corners always bent. Trays solved it. Slide each tray out like a drawer, pick your sheet, and push it back. A slim tower fits beside a desk or in a closet. The paper looks beautiful, and you can see every color instantly, which keeps your projects fresh and your favorites easy to find.
Choose trays with a bit of depth, about five centimeters, and label each one clearly. Keep scraps in a separate bin, so full sheets stay crisp. Place heavy paper on the bottom, since the weight can make upper trays hard to pull. Add a few silica gel packs if you live in a humid area to prevent curling. Sort a little each month, because paper stashes grow fast. Pair the tower with a nearby paper cutter. The finished unit looks tidy, colorful, and practical, and it makes starting a card or scrapbook page delightfully easy.
Yarn Basket Corner
- Keeps yarn clean, soft, and untangled
- Open baskets make each ball easy to grab
- Natural weave adds warmth to the room
- Doubles as a decor feature
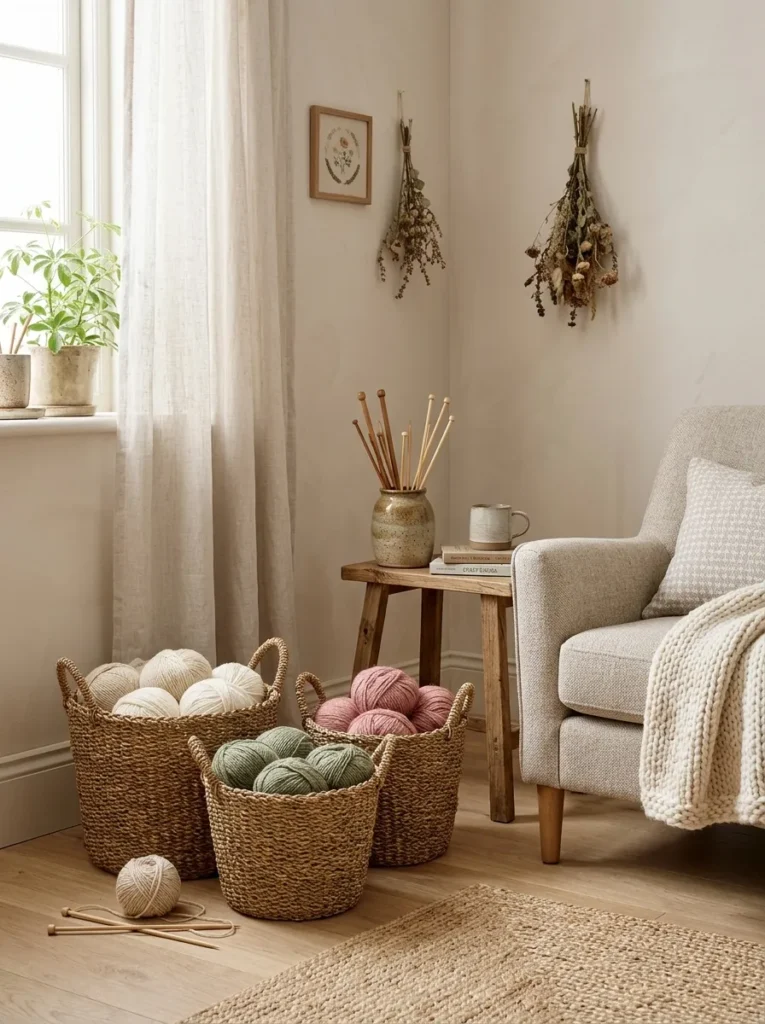
Yarn deserves a cozy home. Place a few woven baskets in a corner, sort yarn by color or weight, and tuck needles into a nearby jar. I’ve noticed that people knit more when their yarn is visible and inviting. The basket keeps strands from rolling around the floor, and the natural weave adds texture. Choose seagrass, rattan, or cotton rope for a calm look. Add a small armchair, and the corner becomes a relaxed spot to stitch. The yarn looks beautiful, the space feels warm and welcoming, and everything stays right where you need it.
Prevent tangles with a few simple tricks. Wind skeins into center-pull balls, and keep each project in its own small bag inside the basket. Add a lid or a thin cloth on top to protect the yarn from dust and pets. Cedar blocks help deter moths, and they smell lovely too. Store wool away from damp areas. Group similar colors together so your palette is easy to see. Keep a small tray for scissors and stitch markers nearby. The finished corner looks soft, tidy, and cozy, and it makes you want to sit down and start.
Paint Tube Rack
- Shows every paint color in one glance
- Stops tubes from rolling and drying out
- Narrow shelf fits above a desk
- Brushes stay close and bristles stay safe
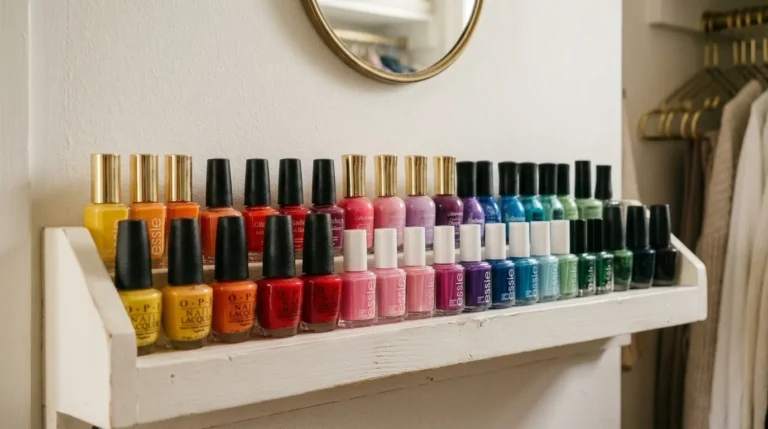
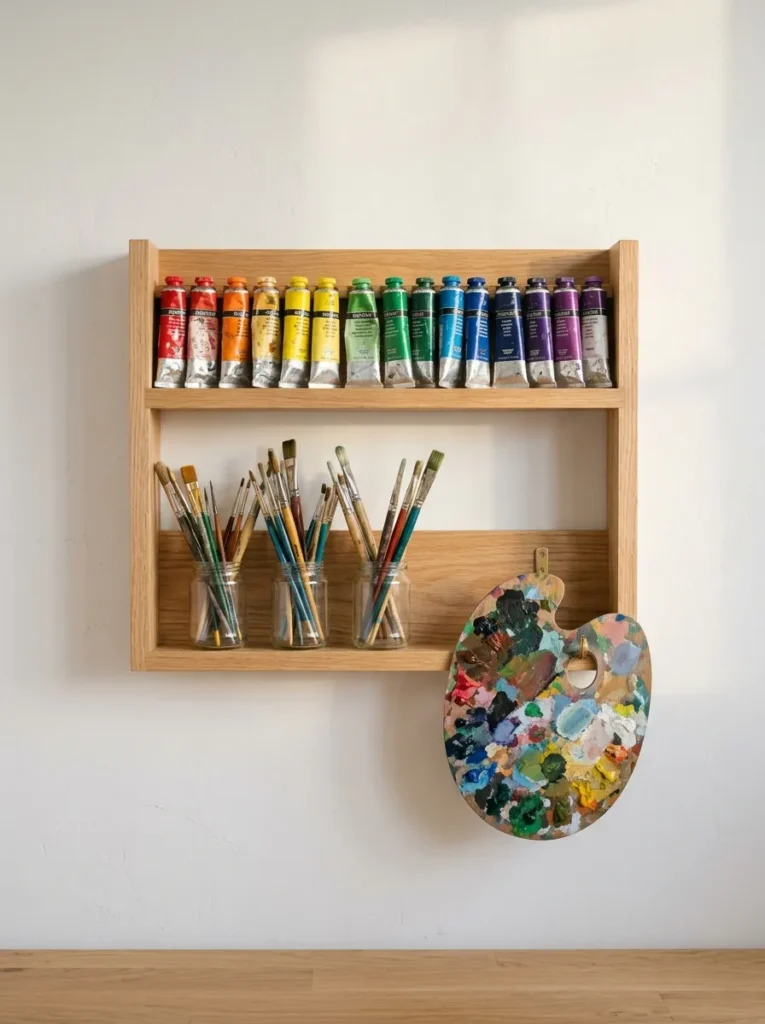
Color should never be lost in a drawer. A narrow shelf with a groove holds paint tubes upright, sorted in a gentle rainbow. I’ve seen this setup save artists from buying duplicates, because every shade is visible. Place brushes in jars below, bristles up, and hang a palette on a hook. The shelf looks like a tiny art gallery, and the colors become part of the room’s decor. Mount it near your work area, so reaching for paint takes one second. The wall feels bright, inspiring, and ready for creating.
Keep paints in good condition for longer. Store tubes with caps on tightly and the cap end down, so pigment collects near the opening. Wipe the threads clean before closing to prevent sticking. Avoid direct sunlight and heaters, which can dry paint out. Group warm colors and cool colors separately for faster picking. Use a small tray under wet brushes to catch drips. Check the labels twice a year and toss anything dried or stiff. The finished rack looks cheerful, tidy, and professional, and it makes painting sessions start with ease.
Washi Tape Display
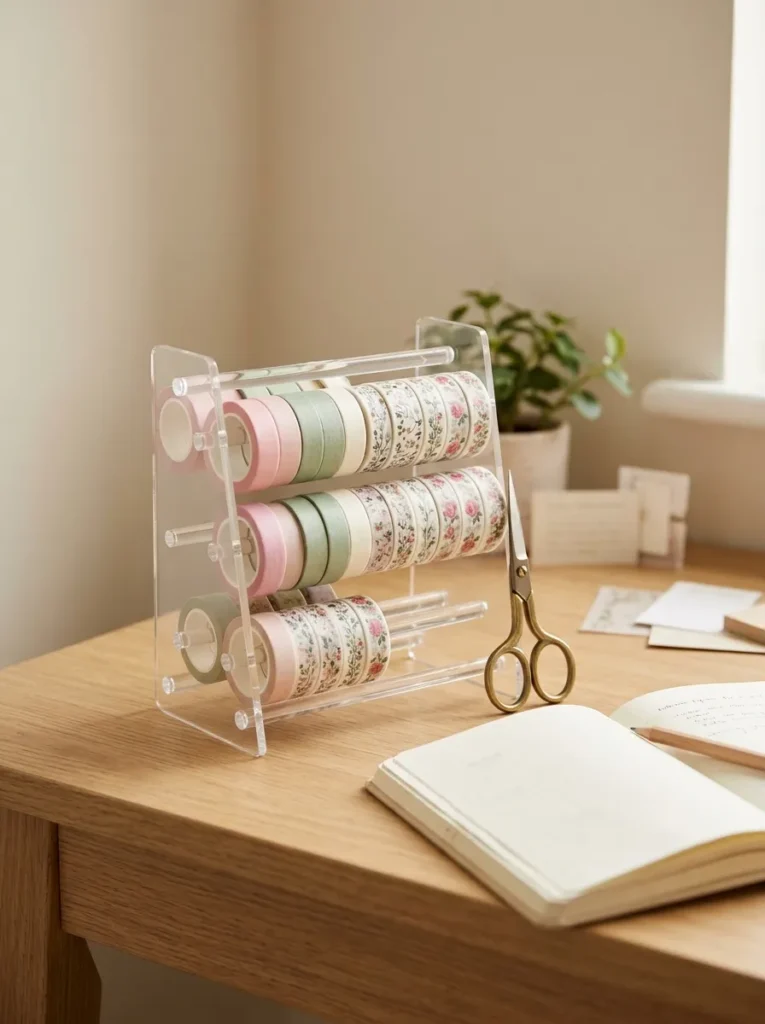
- Turns tape rolls into a colorful display
- Keeps rolls easy to grab and clean
- Prevents sticky tangles in drawers
- Works on a desk or wall
Washi tape deserves to be seen. Slide rolls onto a dowel, a stand, or a wall rail, and your collection becomes cheerful decor. I’ve noticed that crafters use their tape more once it is visible. No more sticky clumps stuck at the bottom of a drawer. Group rolls by color for a soft gradient, or by pattern for faster picking. A clear acrylic stand works well on a desk, while a wall rail saves table space. The display feels playful, tidy, and inspiring, and it makes planning and journaling a little more joyful.
Small touches keep it working. Fold a tiny tab at the end of each roll so it is easy to start. Place the display within arm’s reach of your workspace, and add a small pair of scissors on a hook. Use a thin dowel and wall brackets to build your own for less than a few dollars. Keep the rolls away from direct sunlight, since heat weakens adhesive. Dust the display weekly. Store spare rolls in a labeled box. The finished corner looks bright, organized, and charming, and it keeps your favorite tapes within easy reach.
Scrap Fabric Drawers
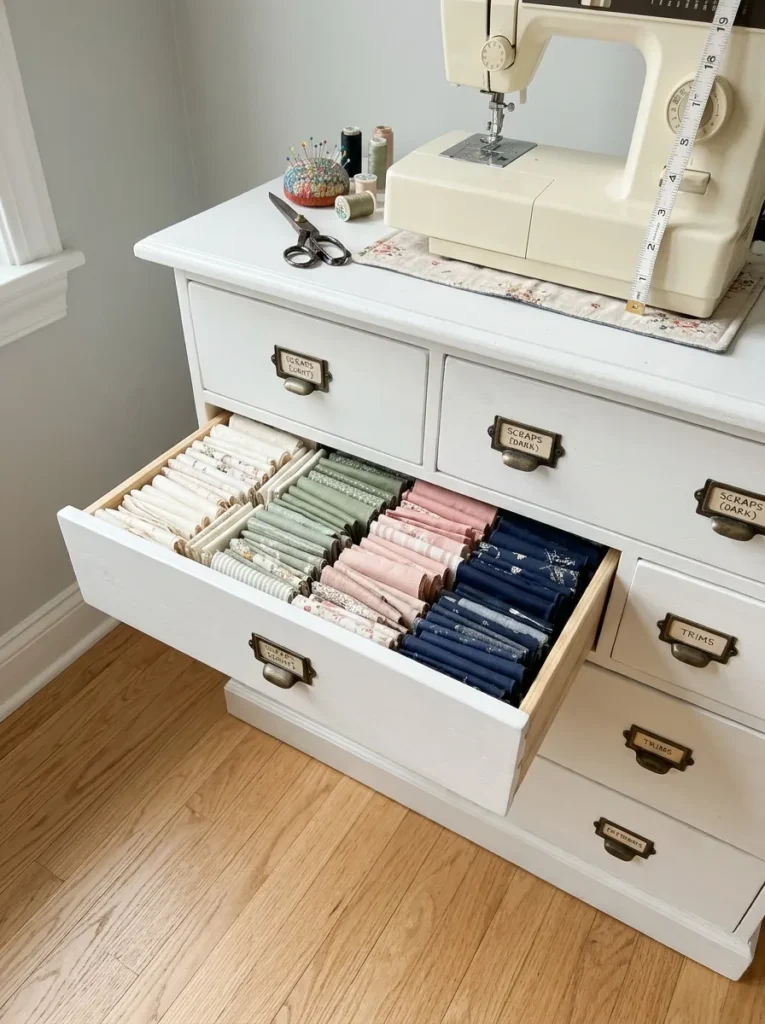
- Keeps fabric folded, clean, and wrinkle-free
- Sorting by color makes picking quick
- Drawers hide the mess when guests visit
- Perfect space under a sewing table
Scraps pile up fast, and drawers tame them. A small unit under your sewing table gives fabric a flat, dust-free home. Sort by color or by size, and fold each piece into a neat rectangle. I’ve tried tossing scraps into one bin, and finding the right piece took forever. Drawers fixed that. Label each front with a small tag, such as “quilting cotton” or “felt.” The setup feels tidy, practical, and calm, and it keeps your sewing space looking clean even in the middle of a busy project.
Fold fabric the same way every time. Press each piece lightly, fold it into thirds, then stand it upright like files so you can see every color at once. Keep tiny scraps in a separate bag, since they often get lost under bigger pieces. Add cedar blocks or lavender sachets to protect against pests. Choose drawers with smooth runners, so a full load still glides. Place the unit within reach of the sewing machine. The finished drawers look neat, soft, and orderly, and they make every project start with a quick, easy pick.
Bulletin Inspiration Board
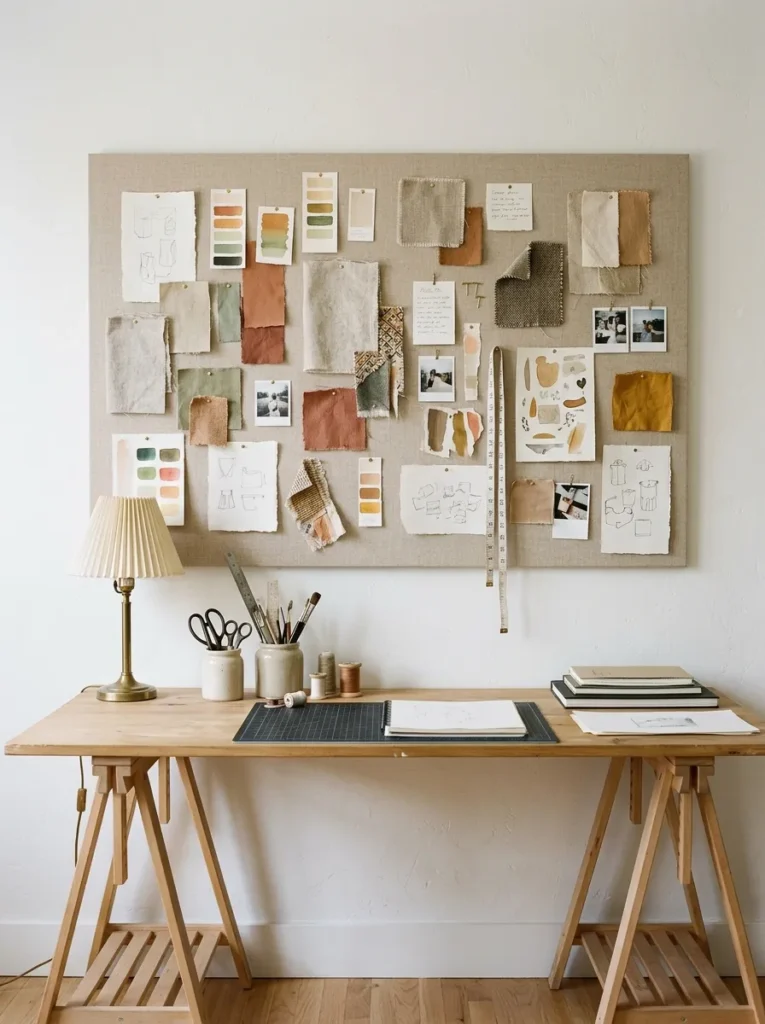
- Keeps ideas, swatches, and plans in sight
- Frees up desk space from loose papers
- Soft linen looks calm and polished
- Easy to refresh with each new project
Ideas need a home too. A linen bulletin board above your desk keeps swatches, sketches, and photos in view while you work. I’ve seen this setup help crafters finish projects, because the plan sits right in front of them. Pin fabric samples, paper scraps, and color ideas, then switch them out each month. A neutral linen board looks calm and polished, unlike a cluttered cork square. The wall feels creative, tidy, and personal, and it keeps inspiration close without covering your whole desk in notes and loose papers.
Keep it simple and fresh. Limit the board to one project at a time, and group items by theme. Use brass pins or small clips so the board looks clean. Leave about a third of the surface empty, since breathing room keeps it from feeling busy. Add a small shelf or ledge beneath for lightweight supplies. Photograph the finished board before taking it down, and save the image for later reference. Choose a size about two-thirds the width of the desk. The finished wall looks inspired, organized, and thoughtful, and it makes starting a project feel exciting.
Rolling Ironing Station
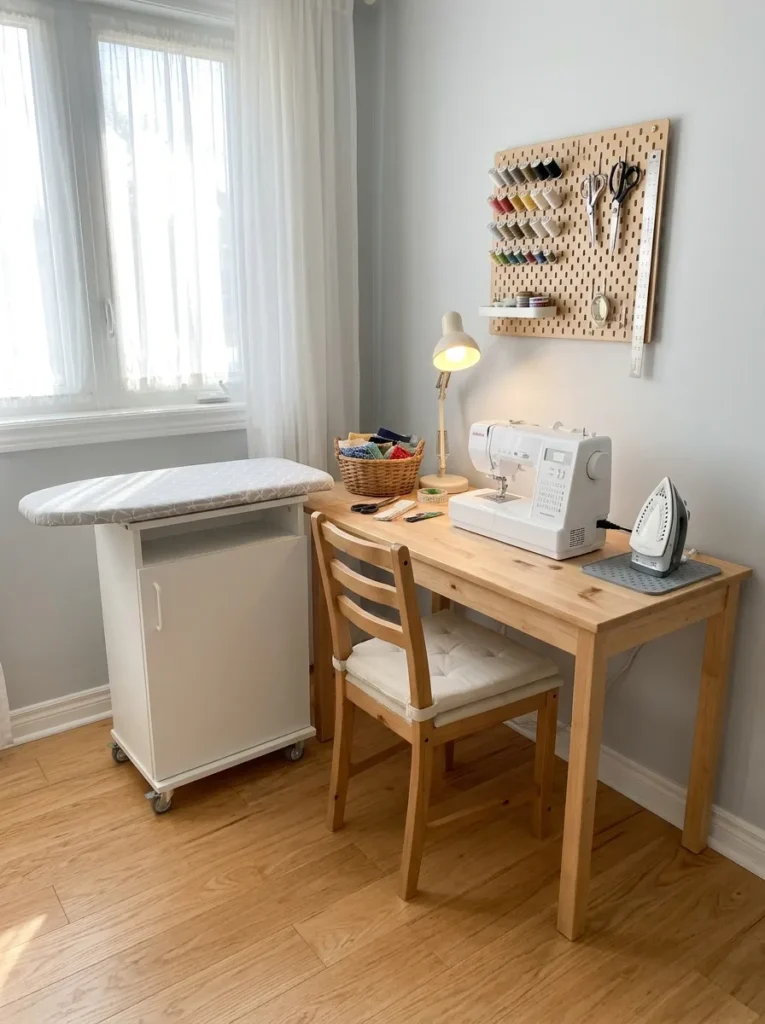
- Brings pressing to your sewing spot
- Folds or rolls away after use
- Saves trips across the room
- Protects tables from heat marks
Pressing makes everything look professional, and a station makes it easy. A compact ironing board on wheels sits right beside your sewing table. I’ve noticed that people press more often when the iron is within reach, which makes seams cleaner and quilts sharper. Place a heat-proof pad on top and a small basket for scraps and pins on a lower shelf. When you finish, roll it into a corner or fold it flat. The corner feels efficient, tidy, and ready for work, and your projects benefit from every extra press.
Safety and setup matter. Keep the cord tidy with a small clip so nobody trips. Place the board on a hard, flat floor and lock the wheels while you work. Use a wool pressing mat for quilting, since it holds heat and reduces shine on fabric. Let the iron cool fully before storing it. Keep a spray bottle of water on the shelf for stubborn wrinkles. Check the plug and cord regularly for wear. The finished station looks compact, practical, and organized, and it makes every sewing session smoother and faster.
Labeled Project Boxes
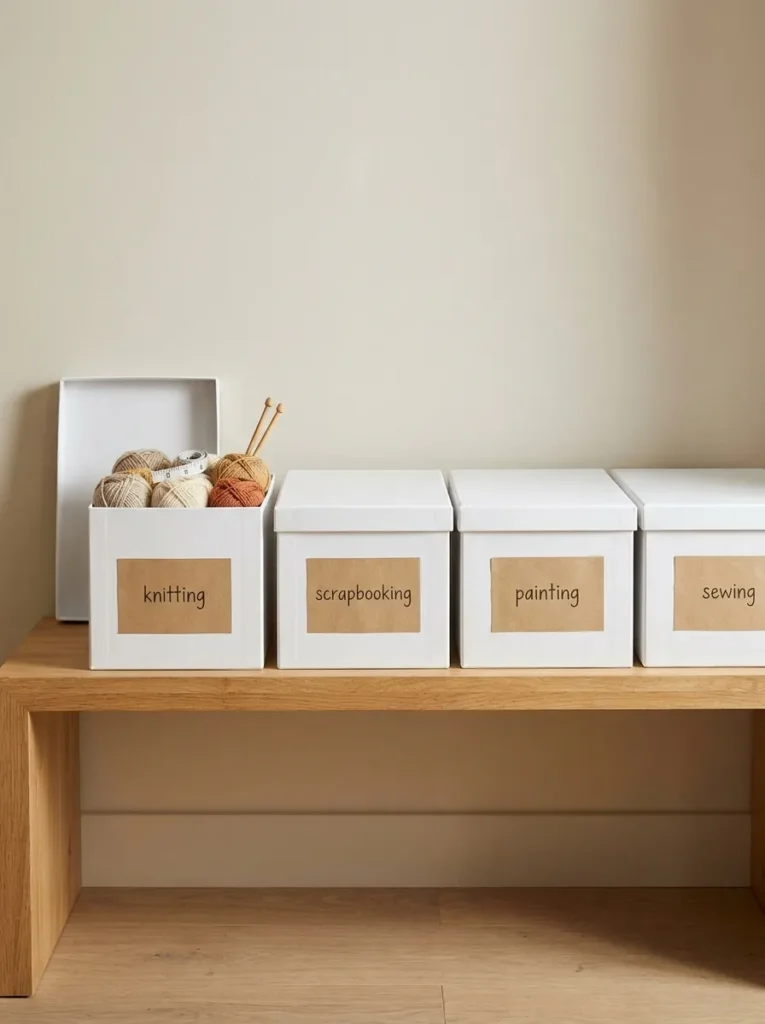
- Keeps each project ready to grab
- Stops half-finished work from spreading
- Labels make switching hobbies quick
- Stacks neatly on any shelf
Half-finished projects can overwhelm a room. Give each one a labeled box, and the clutter disappears. Pack everything for a project in one container: materials, tools, and notes. I’ve tried this with a knitting project, and I could pick it up after a month without hunting for needles. Choose matching lidded boxes in white or kraft for a calm look, and label each one clearly. The shelf looks tidy and calm, and starting or pausing a project becomes easy. You also get a clear picture of what you have in progress.
Keep the system simple. Use one box per active project, and limit yourself to about five at a time. Add a small card inside with notes, measurements, or the next step. Place the box you are working on at the front, and return it when you finish. Choose sturdy boxes that stack, and keep heavier ones lower. Review the boxes every season, and finish or donate anything you no longer love. The finished shelf looks organized, light, and intentional, and it makes returning to a project feel welcoming, not stressful.
Conclusion
A clutter-free craft room isn’t about perfection. It’s about giving every supply a home so creating feels easy. Whether you start with a pegboard wall, a ribbon rack, or labeled project boxes, these craft room organization ideas help you spend less time searching and more time making. I’ve seen how small changes like these can completely shift the way a space feels. Save this post on Pinterest, try one idea this weekend, and share it with a fellow crafter who needs a tidier studio. Your most creative space is closer than you think.