
17 DIY Dried Orange Christmas Decorations for Home
A few orange slices can make your whole home smell and look like Christmas. These dried orange Christmas decorations cost very little, glow in the light, and bring a warm, natural touch to every room.
Many people want a cozy, handmade holiday look but feel stuck between pricey store decor and plastic pieces that feel flat. I’ve noticed that dried citrus solves both problems, since it needs only an oven, a knife, and a little patience. That is why every idea below includes exact baking times, simple steps, and finishing tips you can follow without guessing. You will find garlands, wreaths, pomanders, centerpieces, and more. Scroll through, save your favorites to Pinterest, and pick one to start this weekend.
Orange Slice Garland
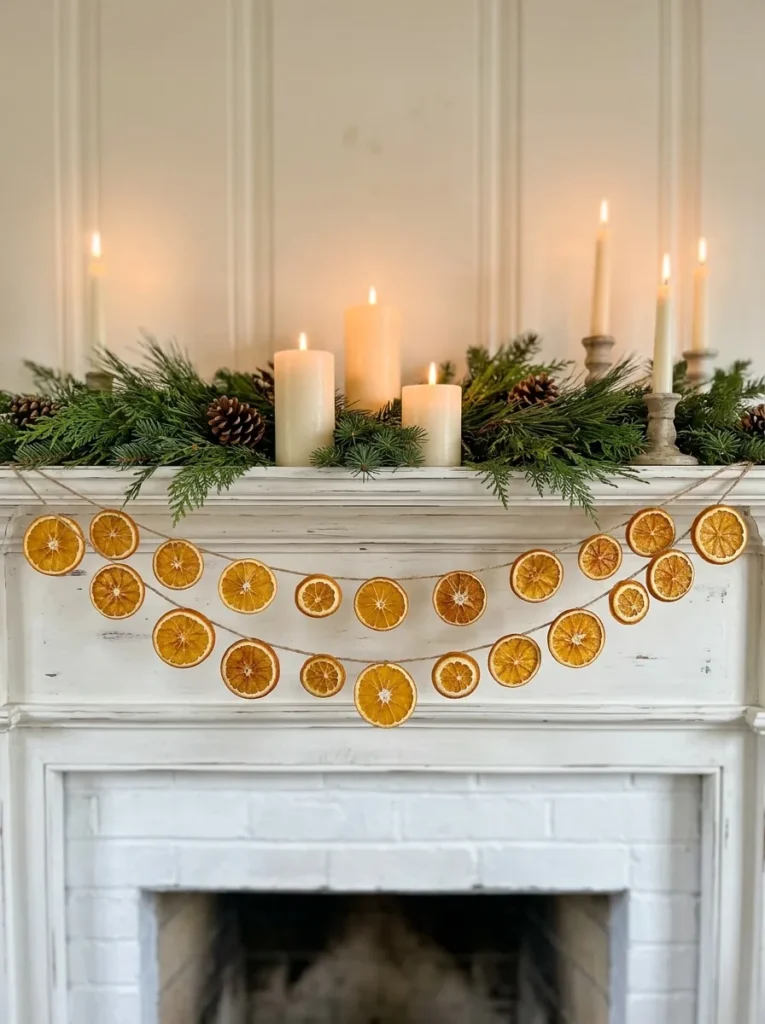
Warm, glowing orange slices turn a plain mantel into something you want to stop and look at. Slice oranges a quarter inch thick, pat them dry, and bake at 200°F for about three hours, flipping once. Navel oranges give the largest rounds. Thin slices turn brittle, so keep them even.
Thread a needle with jute twine and pass it through the center of each dried slice, spacing them six inches apart. I’ve noticed that tying a small knot behind every slice stops them from sliding. Eight slices cover a three foot span, and the garland smells of citrus for weeks.
Hanging Tree Ornaments
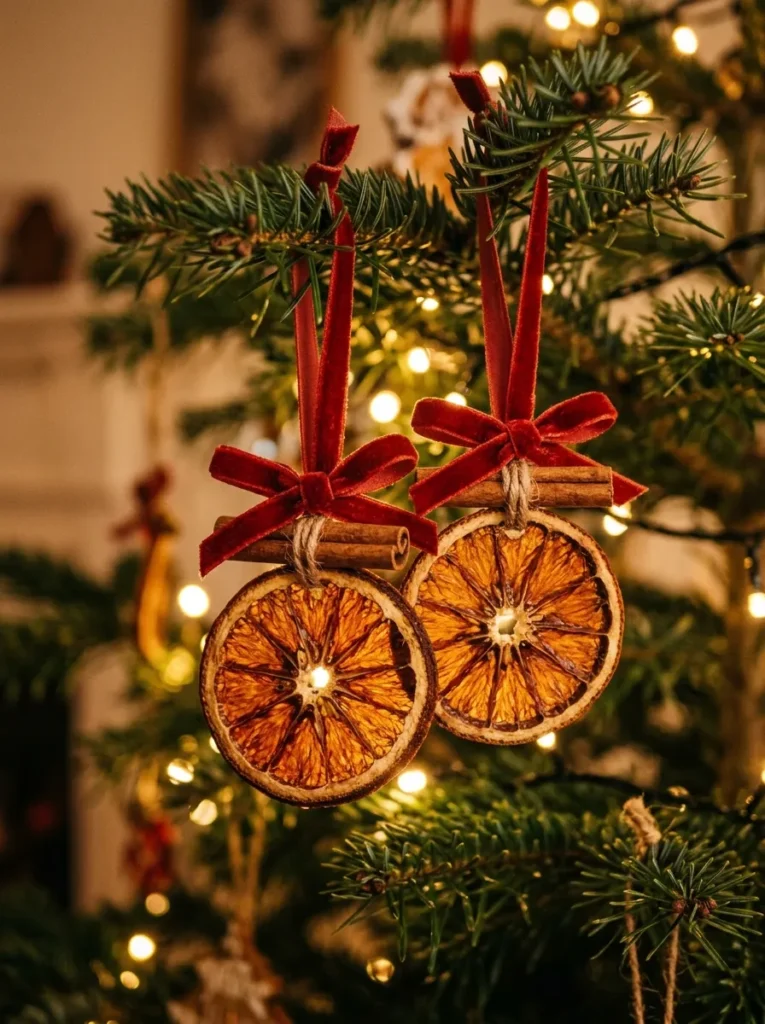
- Pierce the hole before baking, not after, because dried peel cracks when you poke it. A wooden skewer makes a clean opening near the top edge.
- Bake quarter inch slices at 200°F for three hours, then cool them on a wire rack.
- Thread a loop of red ribbon through each hole and knot the ends.
- Glue a small cinnamon stick or pine sprig across the front for texture.
- Cut a few slices in half, since half moons hang flat against the branch.
Light branches hold these best, so hang them on the outer tips of the tree where light can pass through. I’ve seen the slices glow like stained glass against warm white lights. Store them in a paper bag between layers of parchment, and they will last for several Christmases.
Gift Tag Toppers

Quick Tip:
Dry small mandarin or clementine slices for tags, since they sit neatly on a wrapped box. Pierce the hole before baking, the same as with larger ornaments. Tie each one on with baker’s twine and a sprig of rosemary.
Presents look finished when the tag does something more than say a name. Write the name on the back of the slice with a fine black pen, since dried peel takes ink well. Wrap three presents with the same twine and slices, and the whole pile looks matched.
Simmer Pot Kit

BEFORE: Scented candles and sprays often smell artificial, and the scent fades within an hour. Guests walk in and notice nothing.
AFTER: A pot of orange and spice on the stove fills the whole home with a warm, natural scent. Guests ask what smells so good the moment they arrive.
Pack a jar with four dried slices, two cinnamon sticks, three star anise, and a handful of cranberries. Add a tag that says to simmer in water on low heat. I’ve noticed that one kit scents a home for four hours. Top up the water as it cooks, and never let the pot boil dry.
Pomander Balls
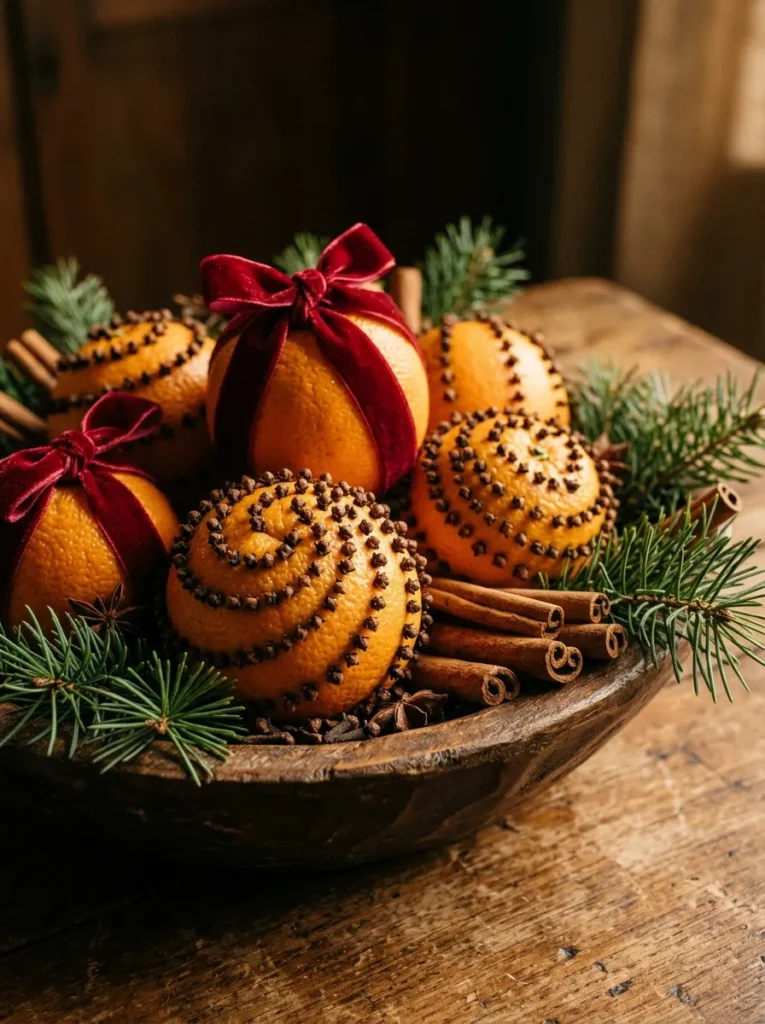
- Choose a thin skinned orange with firm peel, such as a small navel or a clementine.
- Press whole cloves into the peel in a spiral, keeping them close together. Use a toothpick to start each hole if the skin feels tough.
- Roll the orange in ground cinnamon until it is fully coated.
- Leave it in a dry, airy spot for two to three weeks, turning it every few days.
- Tie a ribbon around the middle, then hang it or set it in a bowl.
Pomanders shrink as they dry, so the cloves end up even closer together and the scent gets stronger. I’ve tried this with clementines, and they dried faster than large oranges. Tuck a few into a bowl or hang them in a closet. Skip any with soft spots, since those can mold.
Slice Wreath

| Grapevine Base | Foam Ring Base | |
|---|---|---|
| Look | Rustic and open | Full and smooth |
| Attaching slices | Hot glue or wire in the gaps | Pins push in easily |
| Weight | Light | Heavier |
| Best for | Front doors | Indoor walls |
Wreaths hold up best indoors or under a covered porch, since rain turns dried slices soft. Start with fir sprigs, then glue slices in clusters of three. Odd numbers look more natural than even ones. Spray the finished wreath with clear sealer to slow moisture and keep the color.
Candle Ring Centerpiece

DO:
- Set the candle in a glass holder or on a plate before you add anything around it.
- Keep slices and greens at least two inches from the flame.
- Use a battery candle for a worry free glow.
- Refresh the greens every few days.
DON’T:
- Don’t tuck dry slices right against a live flame.
- Don’t leave a burning candle unattended.
- Don’t use wet cranberries on the tray, since they stain linen.
- Don’t skip the tray, or wax drips will land on the table.
Dried fruit is flammable, so safety shapes this centerpiece. A battery candle gives the same warm look with none of the risk. I’ve used one at a family dinner, and nobody guessed. Fill the ring with slices, berries, and herbs, then stand back and check the spacing.
Window Sun Catchers
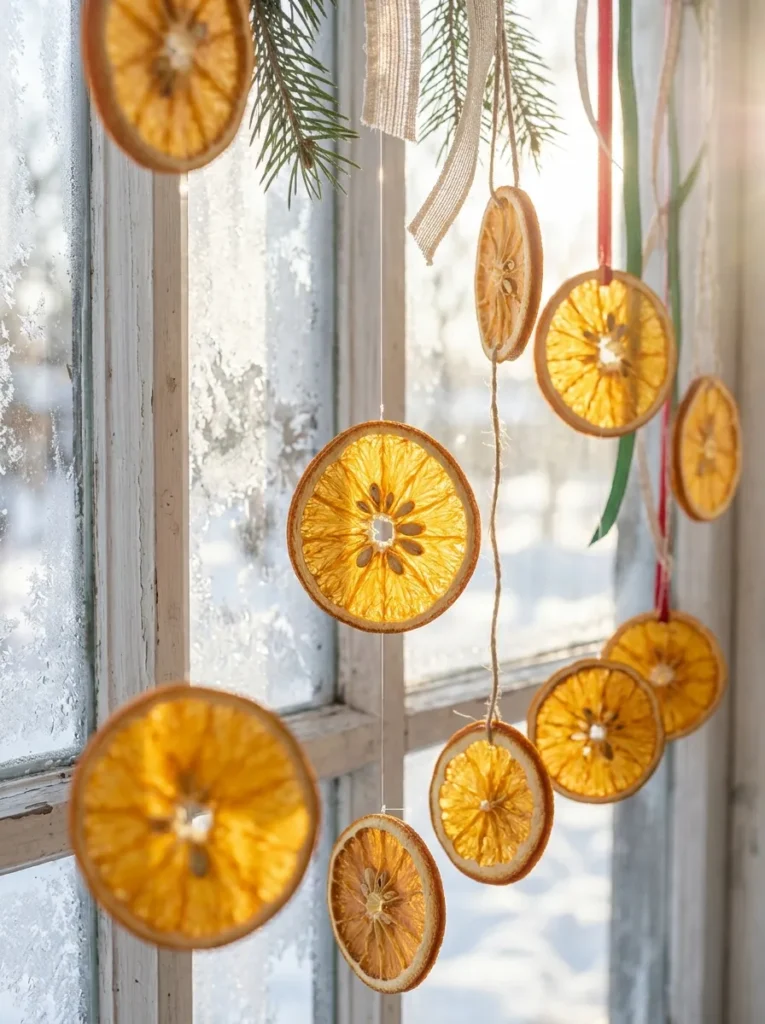
Cost: Very low | Time: 15 minutes after drying
Skill Level: Beginner | Best For: Kitchen and living room windows
Works In: Any bright window | Result: A glow like stained glass
Sunlight does the decorating here. Drying slices at a lower heat keeps the color bright, and thin even rounds glow best. Hang them on clear fishing line at staggered heights. Keep them off damp sills, because condensation softens the peel. Rotate them each week so the sun fades them evenly.
Spiced Potpourri Bowl
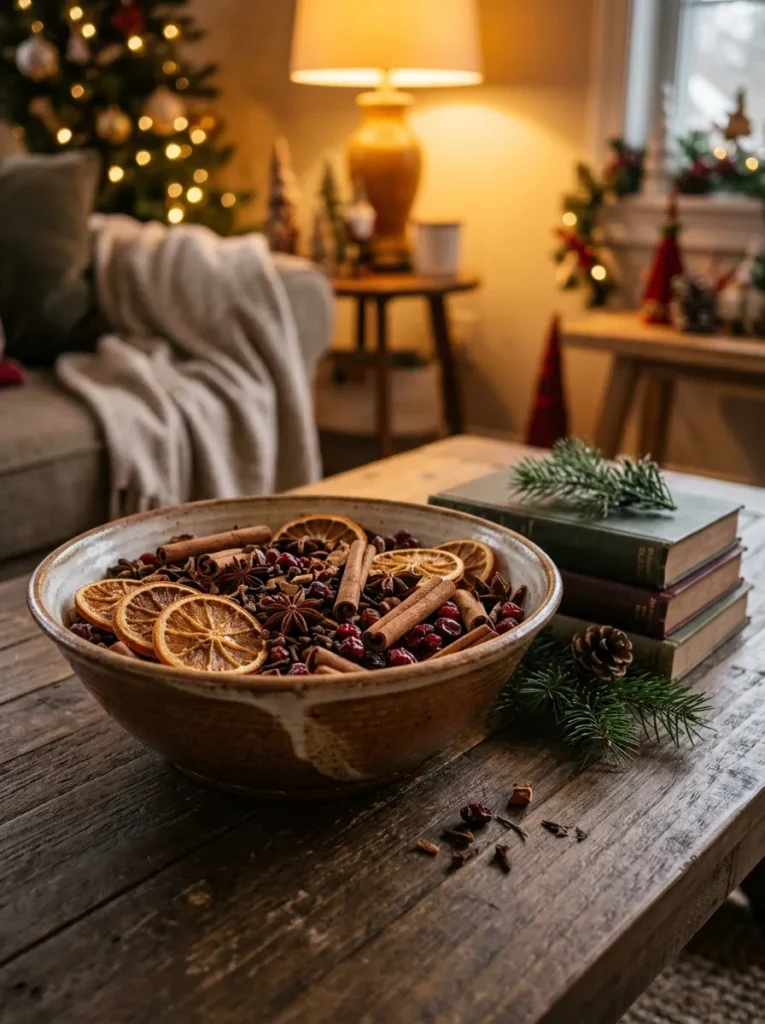
Some decorations work for the eyes and the nose at once. Fill a wide bowl with dried slices, whole cloves, star anise, and cinnamon sticks, then set it on a coffee table or entry shelf. Whole spices hold scent longer than ground ones, so skip anything powdered.
In my experience, a few drops of orange essential oil on the slices revive the smell every week or so. Stir the bowl gently when you pass by. Replace the mix after about six weeks, or sooner if it looks dusty. Keep the bowl out of reach of pets and small children.
Cone Tabletop Tree

- Start with a foam cone about nine inches tall from a craft store. Cover it with hot glue in small sections.
- Cut dried slices into halves and quarters, since small pieces fit the curve of the cone.
- Glue pieces from the bottom up, overlapping each row like roof tiles.
- Fill small gaps with dried cranberries or whole cloves.
- Top with a gold star or a single bay leaf.
Overlapping the pieces hides the foam and gives the tree a scaled, natural look. Work in small glue sections, because hot glue sets fast. A tree this size takes about an hour. Display it on a plate, which protects the table from sticky drips and makes it easy to move.
Napkin Ring Place Settings
Quick Tip:
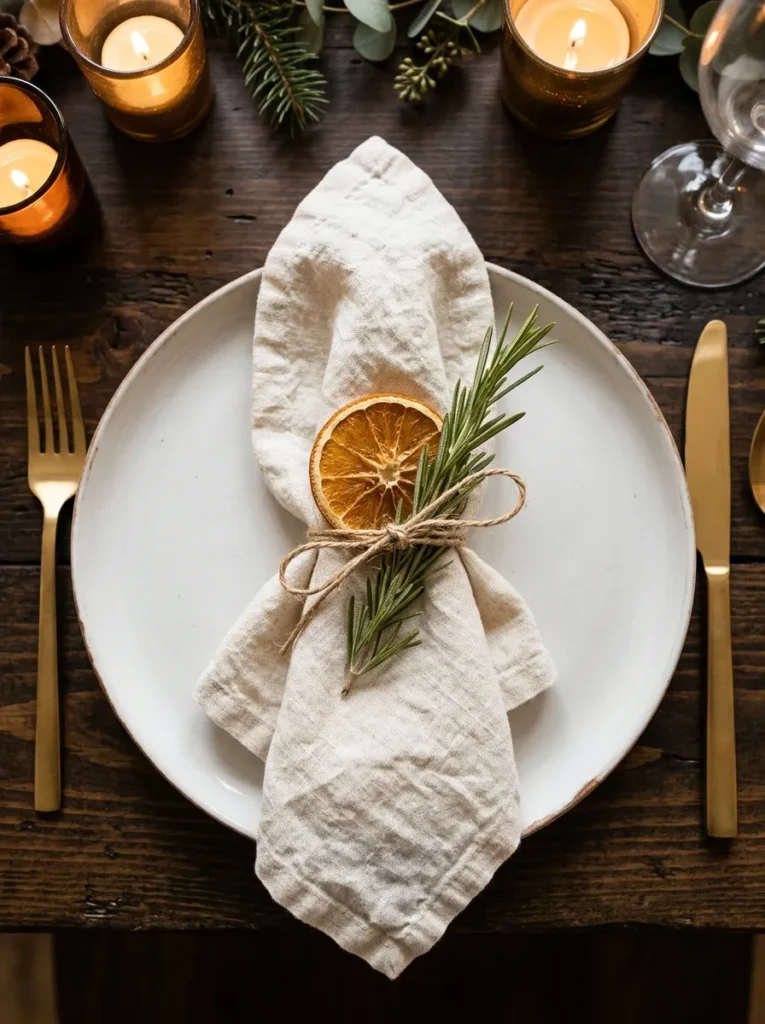
Fold the napkin into a rectangle and wrap twine around the middle twice. Slide a small clementine slice and a rosemary sprig under the knot. Write each guest’s name on the back of the slice with a fine marker.
Place settings make guests feel expected. Dry clementine slices for this one, since their small size suits a napkin. Make one extra for a surprise guest. Add the rosemary on the day, since fresh sprigs look sharp and smell lovely. Dried slices can be made weeks ahead, which saves time before the meal.
Banister Swag

BEFORE: A bare banister looks plain, and a stair full of plastic garland looks stiff. The entryway misses the warm welcome people expect at Christmas.
AFTER: Real pine tied with dried slices and red bows adds color and scent to every step. The staircase becomes the first thing guests notice.
Wire a pine garland to the rail first, then tie slices on with floral wire every foot. Add bows at each post and at every turn. Use removable hooks on painted rails, and they will not leave marks. Check the garland weekly, since pine dries out faster near heaters.
Orange Peel Roses
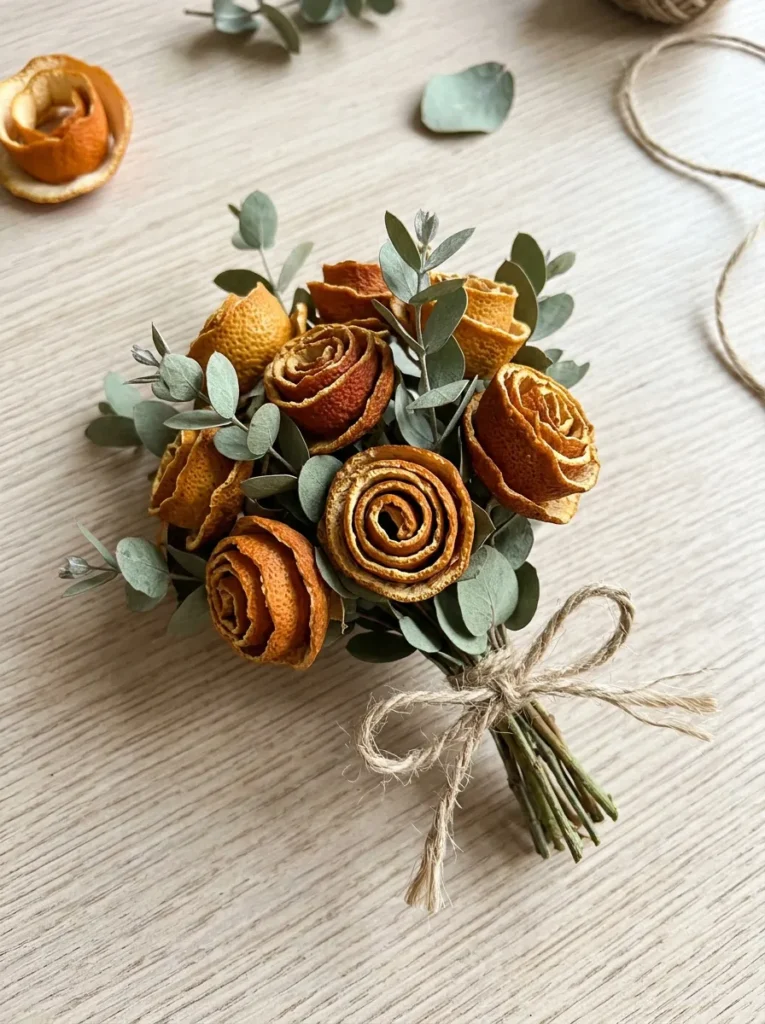
- Peel a firm orange in one long strip about one inch wide, using a sharp paring knife. Cut off most of the white pith.
- Starting at one end, roll the strip loosely into a spiral with the peel side facing out.
- Secure the base with a toothpick or a small stitch of thread.
- Dry the roses on a wire rack at 200°F for one to two hours, then let them cool.
- Glue each rose to a floral wire stem or onto a gift box.
Peel roses look surprisingly like real flowers once they dry and curl. A single orange gives one strip, so buy a few extra for a small bouquet. I’ve found that loosely rolled spirals dry into fuller blooms than tight ones. Stand three or four in a mini vase for a table accent.
Dining Table Runner
| Flat Slice Line | Layered Pine Base | |
|---|---|---|
| Look | Neat but sparse | Full and textured |
| Setup time | 5 minutes | 15 minutes |
| Scent | Light citrus | Citrus and pine |
| Cost | Lowest | Low |
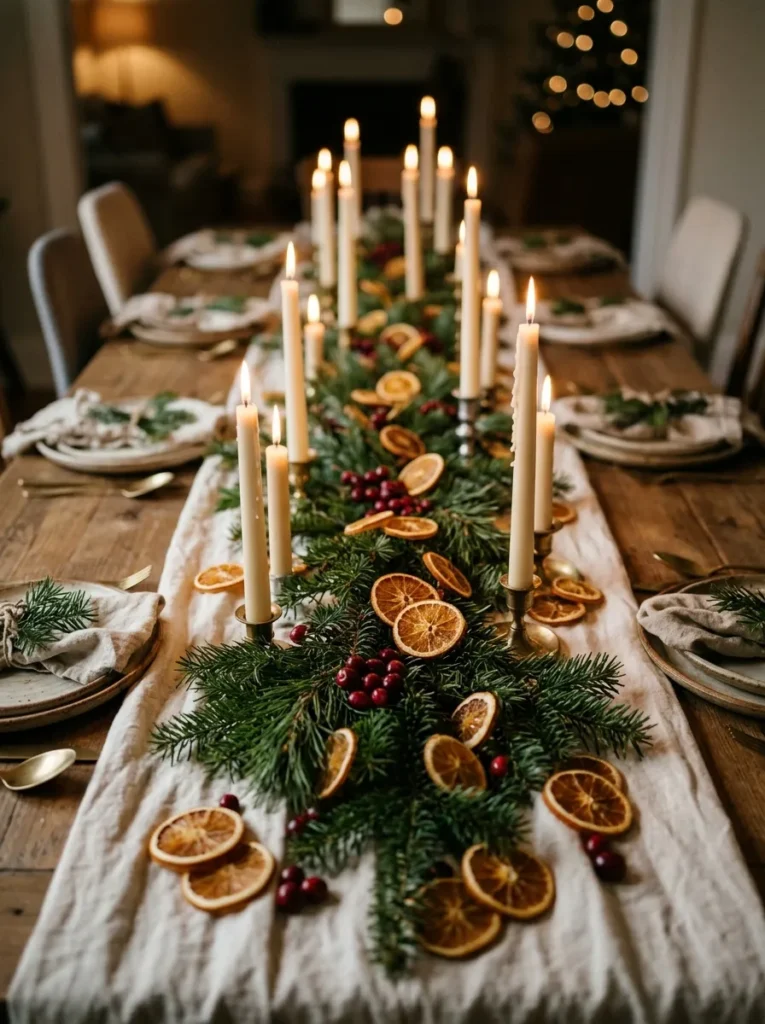
Dinner guests lean in when the center of the table has something to look at. Lay pine branches first, tuck slices between them, then add cranberries in small clusters. Keep the display under four inches tall so people can see each other across the table. Place candles last and use holders.
Entryway Welcome Bowl
DO:
- Fill the bowl with crumpled paper first so you use fewer slices.
- Add pinecones for height, then tuck slices around the edges.
- Mix in a few dried cinnamon sticks for scent.
- Add fresh pine tips for green color.
DON’T:
- Don’t place the bowl where wet coats or boots will drip on it.
- Don’t pack it so tight that the slices crush.
- Don’t use unbaked pinecones, which can carry bugs.
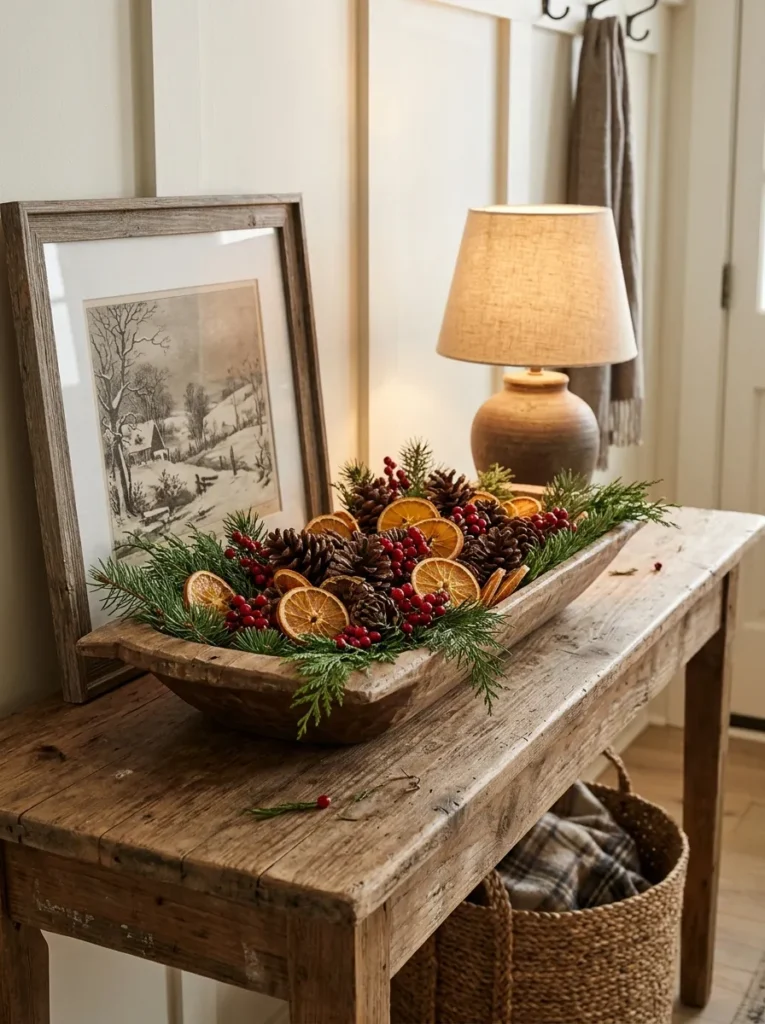
A bowl by the door says welcome before anyone says a word. Choose a wide, shallow one, so slices sit on top instead of sinking. Bake pinecones at 200°F for 30 minutes first. Mixing three sizes of fruit pieces makes the bowl look fuller. Refresh the pine tips every few days.
Air Dry Method
Cost: Free | Time: 3 to 7 days
Skill Level: Beginner | Best For: Saving oven energy
Works In: A warm, dry room | Result: Pale, matte slices
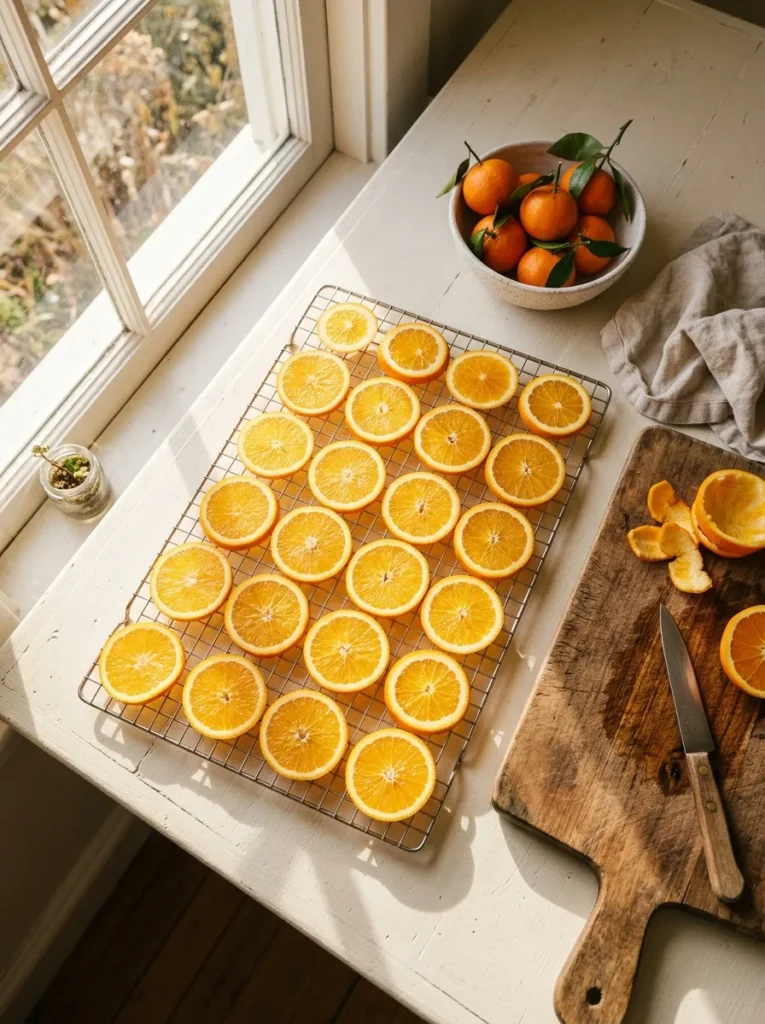
No oven, no problem. Pat slices dry, lay them on a wire rack, and leave them near a radiator or sunny window. Flip them daily. I’ve found that thin slices dry in about four days, while thick ones take a week. Toss any slice that still feels damp, or it will mold in storage.
Peel Cutout Stars

Leftover peel is too pretty to throw out. Peel oranges in large pieces, trim off the white pith, then press a mini cookie cutter through each one to punch out stars and hearts. Bake the shapes at 200°F for about an hour until they curl slightly and feel dry.
Poke a tiny hole with a needle before baking and loop gold thread through each one. In my experience, cutting while the peel is fresh gives cleaner edges than cutting after drying. Hang a handful on a bare branch in a vase for a quiet, minimal look.
Conclusion
Simple fruit can turn a plain home into a warm, festive one. A few baked slices, some twine, and an afternoon of slow, quiet work can fill your rooms with color and scent. I’ve seen how one small garland or a bowl of spices can change the mood of a whole evening. Whether you start with the mantel garland or the simmer pot kit, these dried orange Christmas decorations are easy to make and lovely to keep. Save this post on Pinterest, try one idea this week, and share it with a friend who loves a cozy holiday.