Book Page Crafts Ideas for Handmade Gifts on a Budget
Book page crafts ideas for handmade gifts are small projects made from the paper inside old books, such as gift wrap, coasters, magnets, pendants, and boxes, that cost roughly $2 to $10 each and look personal when you give them. This article covers what to check before you start, the principles that matter, and 8 gift projects, with the practical details on glue, sealing, and wrapping for each. A thrift paperback costs a dollar or two and supplies enough paper for most of them.
The main problem with handmade gifts is that they can look homemade in the wrong way: wrinkled paper, glue that shows, edges that lift, and a finish that stays sticky. Book page crafts have the same issues, plus paper that curls and tears. Most fixes are small, and they come down to thin glue, a good seal, and patience while things dry.
You don’t need all 8 projects. Pick one or two, make a batch of three or four, and you’ll have gifts for the next few birthdays.
Jump To
- What to Check Before You Start
- The Basic Principles of Book Page Gifts
- Essential Materials
- Gift Making Techniques
- Book Page Gift Ideas
- How to Start
- Common Mistakes
- Frequently Asked Questions
- The Finishing Touch
What to Check Before You Start
Start with the book. Thrift store paperbacks, old dictionaries, library sale leftovers, and damaged copies are the best sources. Don’t cut up a book that’s rare, signed, or meaningful to someone, and ask before you use one from home. If you plan to sell what you make, check the rules for the book you use, since newer books are still under copyright, and older public domain titles are safer.
Next, think about the person. Check allergies and sensitivities if you add scents, avoid small loose parts in gifts for children under three, and choose a design that suits their taste, not yours. A gift for a reader is easy, and a gift for someone who doesn’t like clutter should be useful, such as a coaster or a gift card holder.
Then check the tools. Craft knives, scissors, and hot glue guns can cut or burn. Use a self-healing mat, a sharp blade, and a low-temperature glue gun, and keep cold water nearby for burns. Work near a window when you use sealers and sprays, and read the label.
Last, plan your timing. Glue, sealer, and decoupage need hours or days to cure, and some sealers stay tacky if you stack things too soon. Start at least a week before the date, so you can fix a mistake without a rush.
Quick Reference
- Best starting point: Book page gift tags or a gift card holder
- Biggest impact: Thin glue layers and a clean seal coat
- Budget to start: Roughly $10 to $25 for glue, sealer, and a few extras (approximate, prices vary)
- Time: 15 minutes to a few hours per gift, plus drying time
The Basic Principles of Book Page Gifts
Choose the Paper for the Job: Thin pages from old paperbacks and dictionaries fold and curve well. Thicker pages hold shape for boxes and flat shapes. Test one page by folding it a few times.
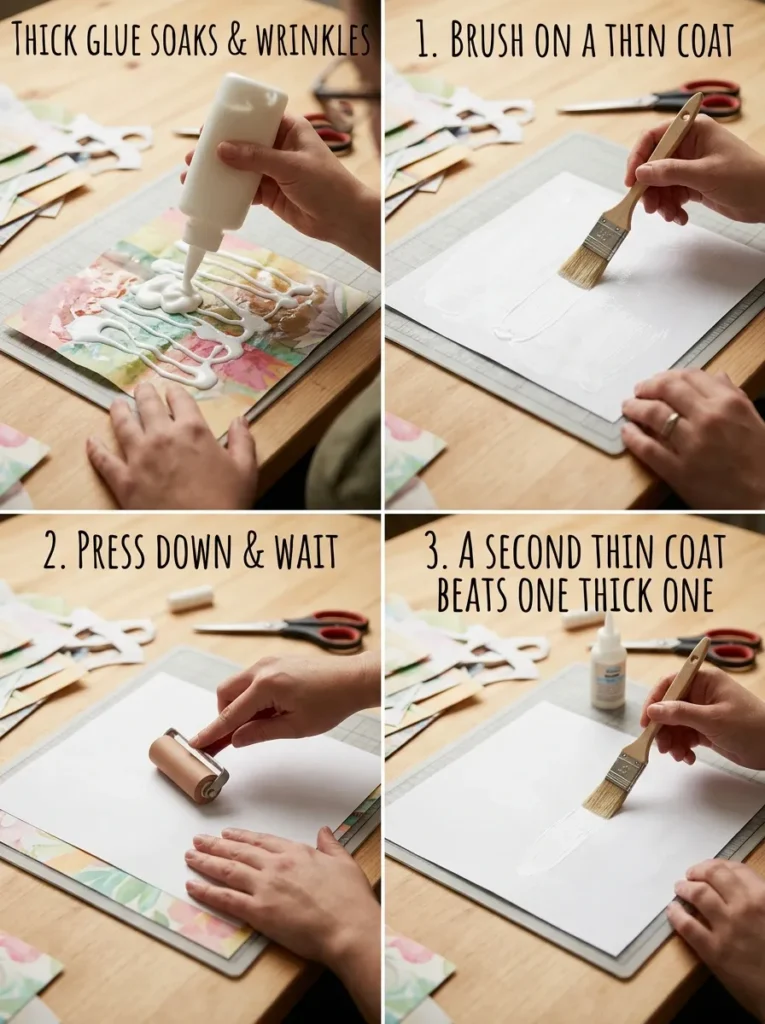
Use Thin Layers of Glue: Thick glue soaks through, wrinkles, and shows. Brush on a thin coat, press the paper down, and wait. A second thin coat beats one thick one.
Seal Everything: Paper yellows, scuffs, and soaks up moisture. A thin coat of decoupage medium or a clear matte sealer protects it. Sealing doesn’t make paper waterproof, so tell the person how to care for it.
Keep the Look Consistent: Choose a theme, such as vintage text, tea-stained pages, or a single color accent. A set of three matching gifts looks planned.
Present the Gift Well: A neat tag, a simple ribbon, and tissue paper make a $3 gift look cared for. Clean handwriting matters more than expensive materials.
Match Effort to Skill: A simple project done neatly beats a complex one that looks uneven. Pick something you can make well.
Essential Materials

A short list covers most of the projects below.
Books: One paperback of about 200 to 300 pages gives you plenty of material for several gifts. Old dictionaries and hymnals have thin, even paper.
Glue and Sealer: Decoupage medium in matte, white craft glue, a glue stick, and a low-temperature hot glue gun. A clear matte spray sealer works for finishing.
Cutting Tools: Sharp scissors, a craft knife, a metal ruler, a self-healing cutting mat, and a paper trimmer.
Base Pieces: Plain coasters, wooden or cardboard boxes, glass cabochons, small jars, and blank cards.
Finishing Supplies: Twine, ribbon, kraft tags, tissue paper, and a fine marker.
Optional Extras: Tea bags for staining pages, a bone folder for sharp creases, and a small paintbrush.
Shop This Look
Gift Making Techniques
The Assembly Line: Do each step for all the gifts at once. Cut every piece, then glue them all, then seal them all. It’s faster, and the results match.
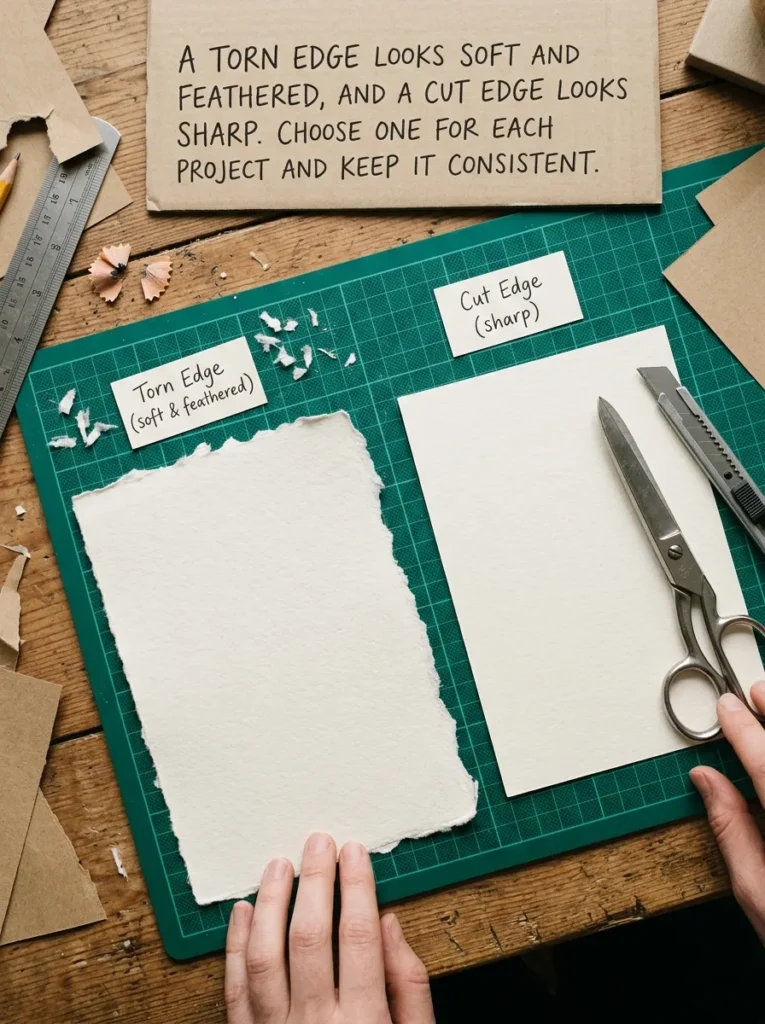
The Tear or Cut Choice: A torn edge looks soft and feathered, and a cut edge looks sharp. Choose one for each project and keep it consistent.
The Center-Out Press: Press paper onto a surface from the center outward, to push out air bubbles and wrinkles. A ruler or a credit card works well for smoothing.
The Tea Stain: Brush weak tea or coffee on pages and let them dry flat for a warm, aged look. Don’t soak, since wet paper tears. Press dry pages under a heavy book.
The Two-Coat Seal: Brush on a thin coat of decoupage medium, let it dry fully, then add a second. Sand very lightly between coats if the surface feels rough.
The Test Piece: Make one gift first, and check how it looks and how long it takes. Fix any problem before you make the batch.
Book Page Gift Ideas
Book Page Gift Wrap With Twine and a Sprig
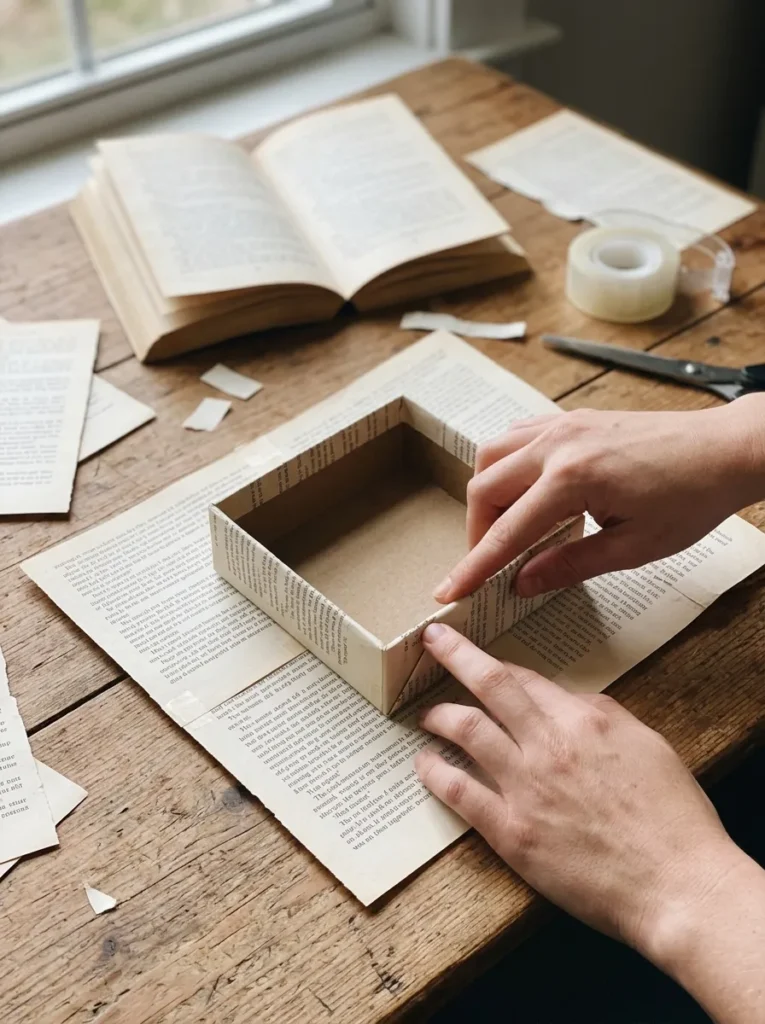
Wrapping a gift in book pages looks vintage and costs almost nothing, since you use pages you’d otherwise throw away. It suits small gifts, and it makes a plain present look thoughtful.
Wrap note: Use full pages from a large paperback or tape several pages together on the back with clear tape. A page is small, so it works for boxes under about 6 by 6 inches. Fold the corners neatly and tape on the inside, so the tape doesn’t show.
Tie tip: Wrap twine twice around the gift, tie a bow, and tuck in a sprig of rosemary or a dried flower. Add a small kraft tag. Check that the paper isn’t too thin, since thin pages tear at the corners. It suits books, small boxes, and gift cards.
Shop This Look
Decoupage Coasters
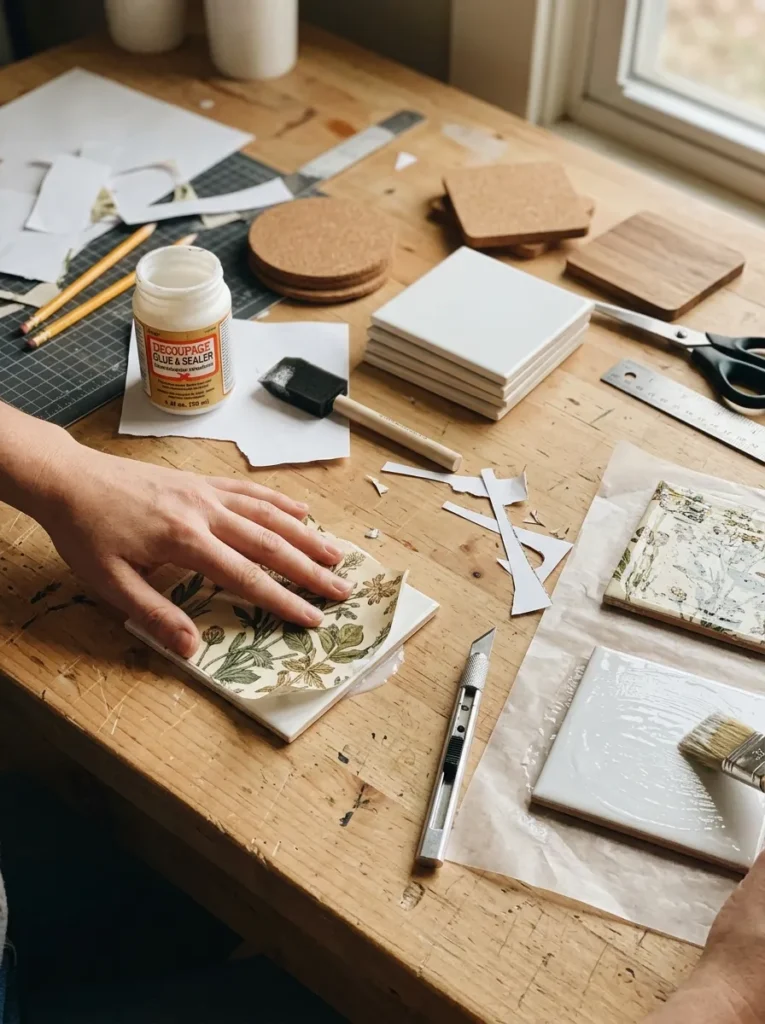
Coasters are useful and quick to make in a batch of four. A book page under a clear seal makes each one look like a small printed tile.
Surface note: Use plain ceramic tiles about 4 by 4 inches, or cork or wood coasters. Brush decoupage medium on the surface, press the page on from the center out, and trim the edges. Add 3 to 4 thin coats of sealer, letting each dry fully.
Heat tip: Decoupage coasters aren’t heat-proof or fully waterproof. Tell the recipient to wipe them dry and avoid hot mugs straight from the kettle. Add felt pads or cork to the bottom to protect furniture. It suits coffee and tea drinkers, and housewarming gifts.
Shop This Look
Glass Cabochon Magnets
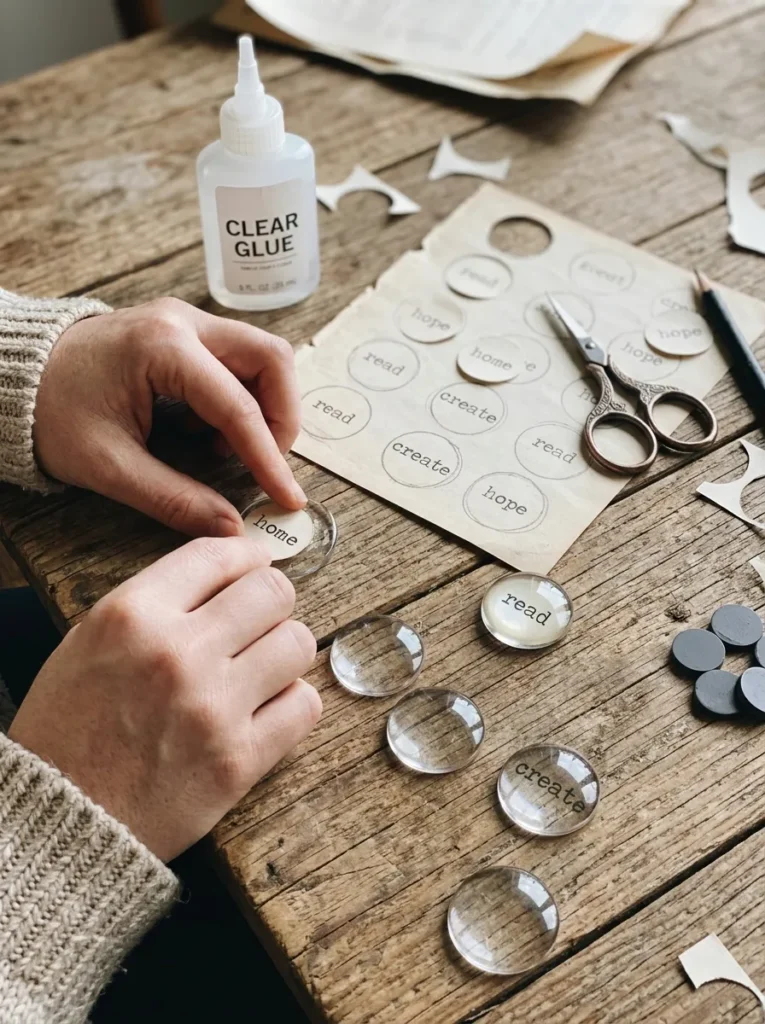
A small glass cabochon over a piece of book page makes a magnet that looks like a tiny word picture. Make a set of four or six, and tie them with a ribbon.
Cut note: Use 1 inch (25 mm) round clear glass cabochons. Trace the cabochon on the page, cut out the circle, and choose a word, such as “read” or “home”. Put a thin coat of clear glue on the flat back of the glass, press the paper on, and smooth out bubbles. Let it dry fully before you attach the magnet.
Backing tip: Glue a flat round magnet to the back with strong craft glue. Trim the paper just inside the edge of the glass, so no white shows. Keep these away from small children, since magnets and small glass pieces are a hazard. It suits fridge gifts for adults.
Shop This Look
Pendant Necklaces and Keychains
The same glass cabochon technique makes a pendant or a keychain. A tiny quote, a letter, or a favorite word looks personal, and the cost per piece stays low.
Mount note: Use a pendant tray with a bezel, about 25 mm, that holds the glass. Place the trimmed paper in the tray, add a thin coat of glue, set the cabochon on top, and press firmly. Let it cure for at least several hours, or as the glue label says. Attach a chain or a keyring.
Safety tip: Check for nickel in the metal if the person has a skin sensitivity, and choose a hypoallergenic setting if you’re unsure. Keep the piece dry, since moisture can seep under the glass over time. It suits readers, friends, and small gifts for teachers.
Shop This Look
- Pendant trays with glass cabochons, 25 mm
- Keychain blanks with split rings
- Hypoallergenic necklace chains, stainless steel
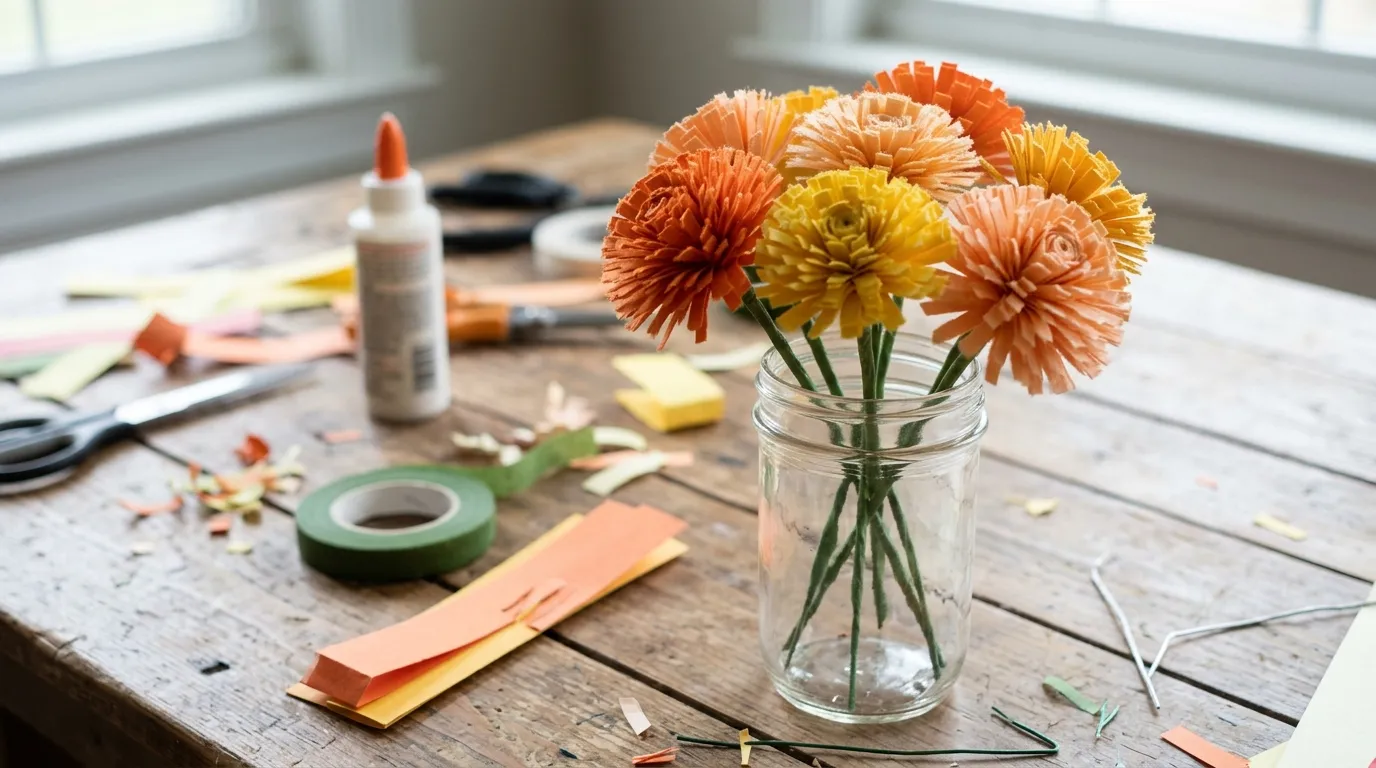
A Book Page Flower Bouquet in a Jar
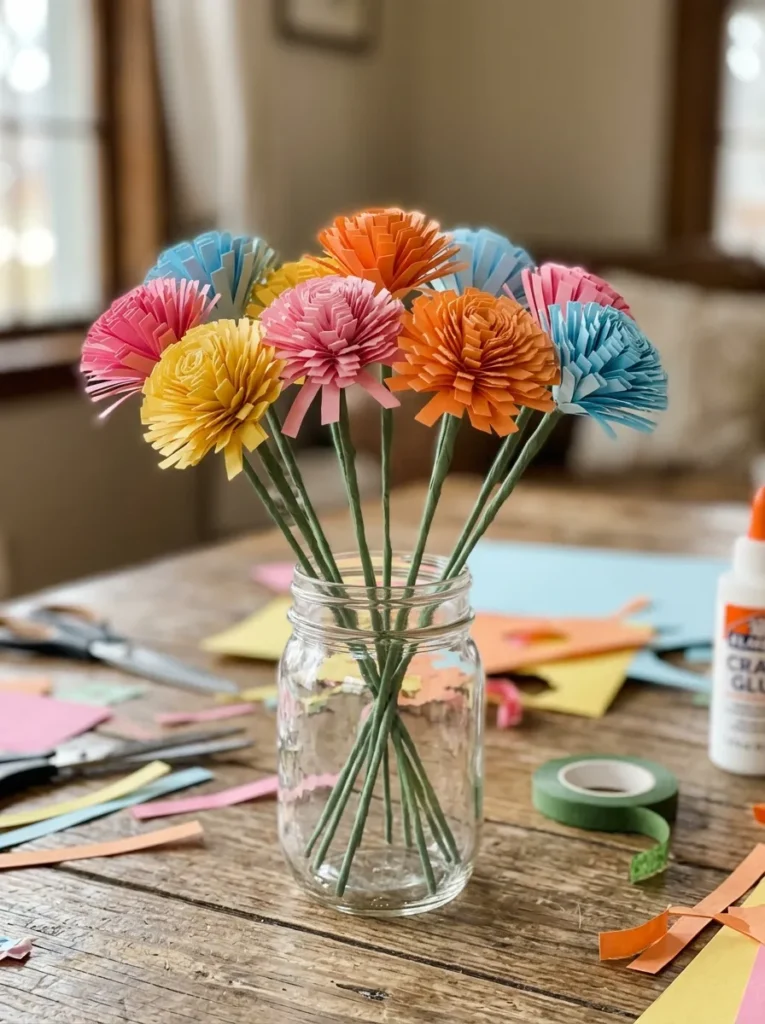
A bunch of rolled or folded paper flowers in a jar looks like a bouquet that never wilts. It’s a good gift for someone who likes flowers but not the upkeep.
Flower note: Cut strips about 2 inches wide, fold them in half lengthwise, snip small cuts along the folded edge, then roll up tightly and glue the end. Make 6 to 8 flowers, and attach each to a wire stem wrapped in green paper or tape. A jar about 4 to 6 inches tall holds them.
Display tip: Add a few sprigs of dried grass or faux greenery for fullness, and tie a ribbon around the jar. Keep paper flowers away from candles and heaters, since paper burns easily. It suits birthdays, Mother’s Day, and a desk or a kitchen windowsill.
Shop This Look
A Covered Trinket Box
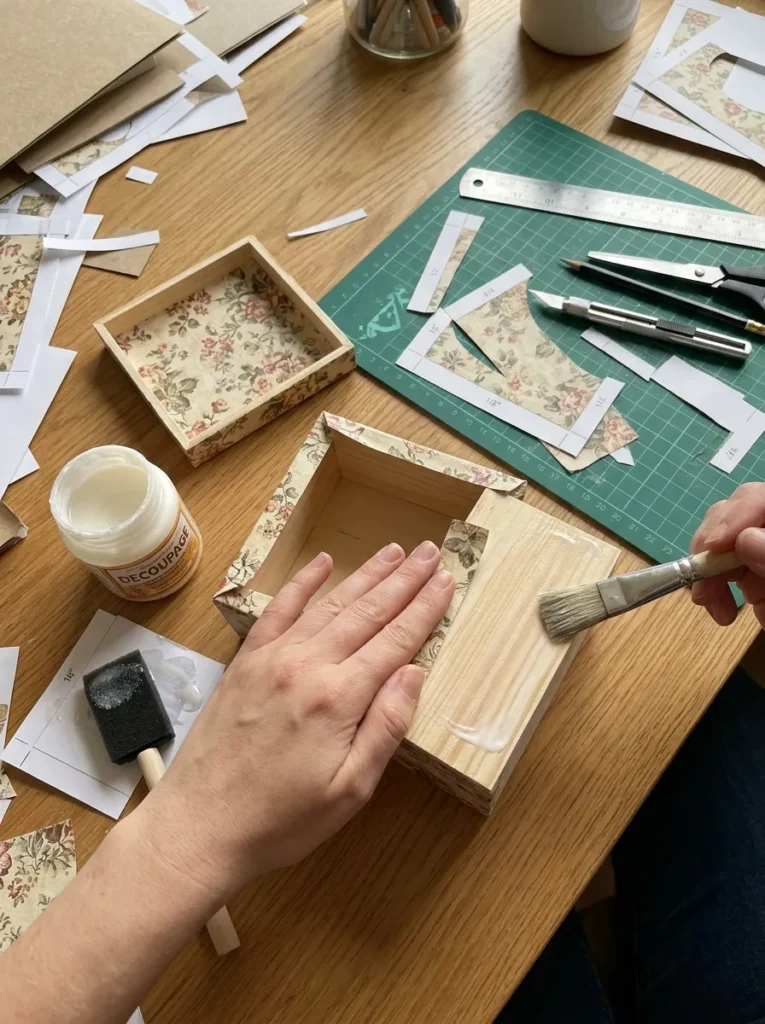
A small cardboard or wooden box covered in book page makes a nice place for jewelry, coins, or small items. It looks like a vintage keepsake, and the box itself costs very little.
Cover note: Measure each side of the box, and cut pieces about a quarter inch larger. Brush on a thin coat of decoupage medium, press the paper down, and fold over the edges. Cover the lid and the box separately, so the lid opens cleanly. Seal with two thin topcoats.
Finish tip: Line the inside with felt or a plain page. Let the lid dry open, or it can stick shut. Add a small label on the bottom with a note or the date. It suits jewelry, small keepsakes, and a gift for a reader or a collector.
Shop This Look
A Gift Card Holder Envelope

A folded book page envelope turns a gift card into a handmade gift. It costs next to nothing, takes about 10 minutes, and suits birthdays, thank yous, and last-minute presents.
Fold note: Use a page about 8 by 5 inches or larger. Fold the bottom third up, fold the sides in, and glue them with a glue stick. Fold down a flap, and close it with a sticker or a wax seal. Test the size with a real gift card, which is usually around 3.4 by 2.1 inches.
Message tip: Write a short note on a small tag, and tuck it inside. Use a thin page so the folds stay crisp, and a stiff card inside to protect the gift card. It suits coworkers, teachers, and friends.
Shop This Look
A Set of Book Page Stationery With Matching Envelopes
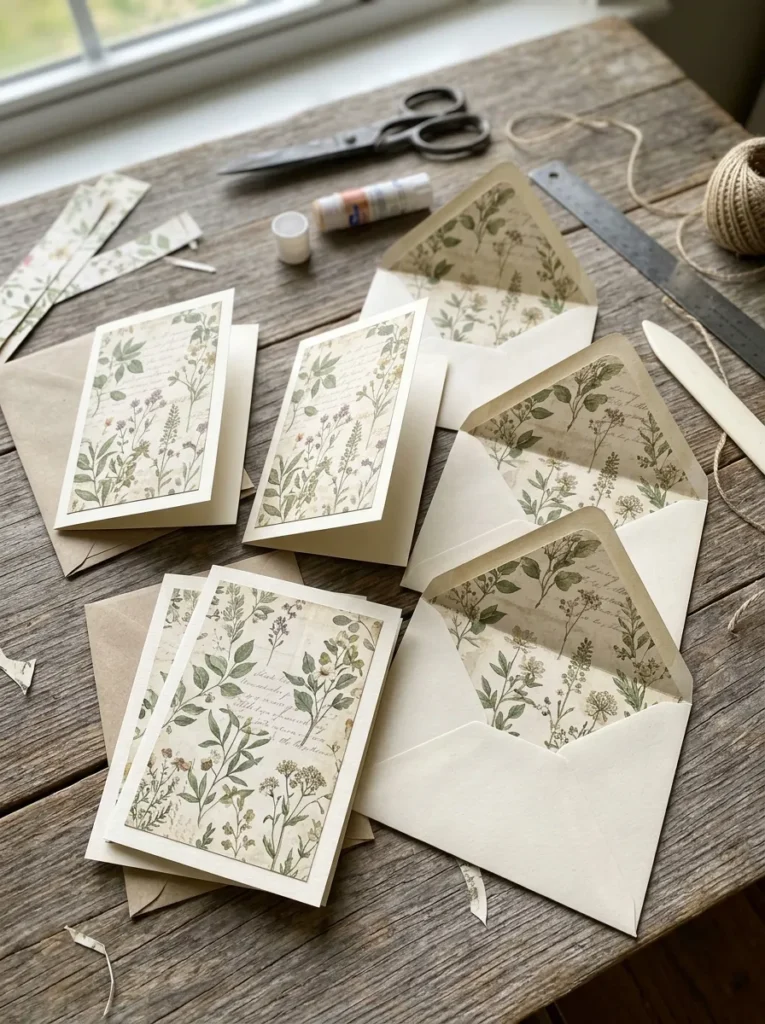
A small set of cards and envelopes, tied with twine, makes a lovely gift for someone who still writes notes. Pages become the envelope liners or the front of the card.
Card note: Fold plain cardstock to make blank cards, about 4.25 by 5.5 inches, and glue a trimmed page onto the front. Line the envelope with a page by cutting a thin piece to the inside shape. Make a set of four to six, and use the same page style.
Mail tip: Check the envelope size against your local postal rules if the recipient will mail them. Thin paper can tear in the post, so line the envelope with a plain sheet. Tie the set with twine and a tag. It suits letter writers, grandparents, and friends who like paper goods.
Shop This Look
How to Start
Start with a small project, such as gift tags or a gift card holder. Pick a thrift paperback, tear out a few pages, and test them. Fold, glue, and seal one piece before you plan a batch. It takes about 15 to 30 minutes, and you’ll learn how the paper behaves.
Next, gather the basics in one box: scissors, a glue stick, decoupage medium, a ruler, and a few foam brushes. A cutting mat protects your table. Keep a bowl of cold water nearby if you use a hot glue gun.
Three things under $25 get most projects going: a bottle of matte decoupage medium, a pack of foam brushes, and a self-healing cutting mat or paper trimmer. Prices vary by brand and size, so check the details. For timing, start a week or two before the date, make a few extra in case one fails, and let sealer cure fully before you wrap.
Shop This Look
Common Mistakes
Using the Wrong Paper: Thick or glossy pages wrinkle on curves and don’t fold well. Use thin paperback or dictionary pages for curved projects.
Too Much Glue: Heavy glue soaks through and wrinkles. Use thin layers and wait for each to dry.
Skipping the Seal: Unsealed paper scuffs and soaks up moisture. Add two thin coats of decoupage medium or a clear sealer.
Rushing the Cure: Stacking or wrapping tacky pieces makes them stick. Let each coat dry fully, and check before you wrap.
Unsafe Gifts for Children: Small magnets, glass pieces, and loose parts are choking hazards. Don’t give them to children under three.
Using Valued Books: Rare, signed, or sentimental books should stay as they are. Use thrift store books and ask before using one from home.
Poor Presentation: Messy edges and no tag make a good gift look rushed. Trim neatly and add a simple label.
Frequently Asked Questions
What are good book page crafts for handmade gifts?
Coasters, magnets, pendants, trinket boxes, flower bouquets, and gift card holders all work well. Choose something useful and small, and match it to the person. Check the safety notes for gifts for children.
How much do book page gifts cost?
Most cost roughly $2 to $10 each in materials, and the books can be a dollar or two at a thrift store. Prices vary by supplies and batch size. Buy glue and sealer once and use them for several gifts.
How do I stop book page crafts from yellowing or wearing out?
Seal finished pieces with a thin coat of decoupage medium or a clear matte sealer, and keep them out of direct sun and damp. Paper yellows over time, and sealing slows wear but doesn’t stop it. Tell the person how to care for the gift.
Can I sell book page crafts?
Possibly, but check the rules for the books you use, since newer titles are under copyright, and older public domain books are safer. Local laws and marketplace rules vary, so check them before you sell. When in doubt, ask a librarian or a legal professional.
The Finishing Touch
When a gift is finished, step back and look at it in good light. Check four things: whether the edges are clean, whether the glue shows, whether the surface is smooth and dry, and whether the gift is safe for the person receiving it.
If something feels off, fix one thing and look again. A wrinkled page needs a thinner coat. A messy edge needs a trim. A tacky seal needs more time. Keep going until it settles.
A good handmade gift looks simple, but it comes from small steps done with care. Pick one project today, find a thrift paperback, and make a test piece. Save your favorite book page crafts ideas for handmade gifts to a Pinterest board so you can come back to them before the next birthday.
Keep Exploring
- Handmade Gift Ideas for Teachers on a Budget
- Easy DIY Gift Wrapping Ideas With Kraft Paper
- Decoupage Ideas for Beginners